Hideout Theatre Scale Model
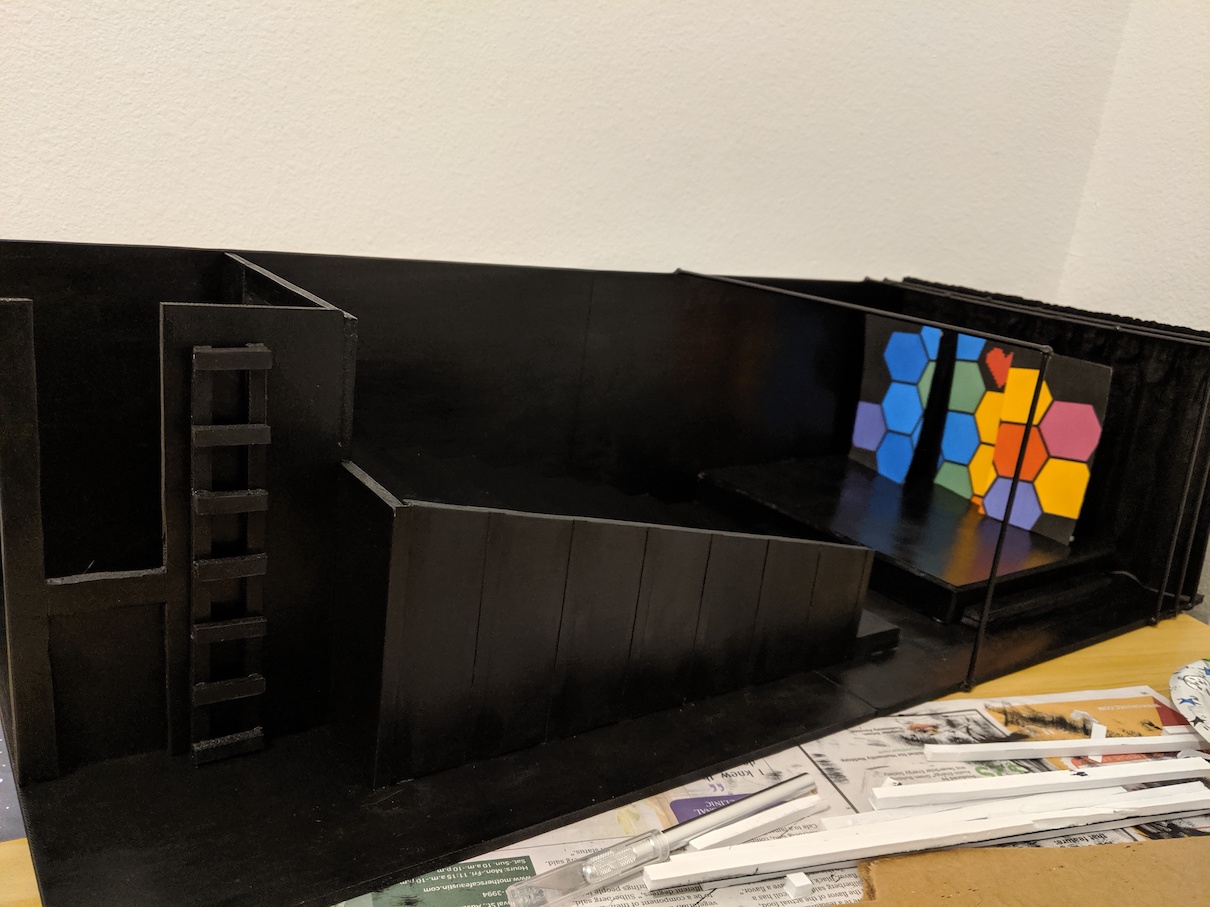
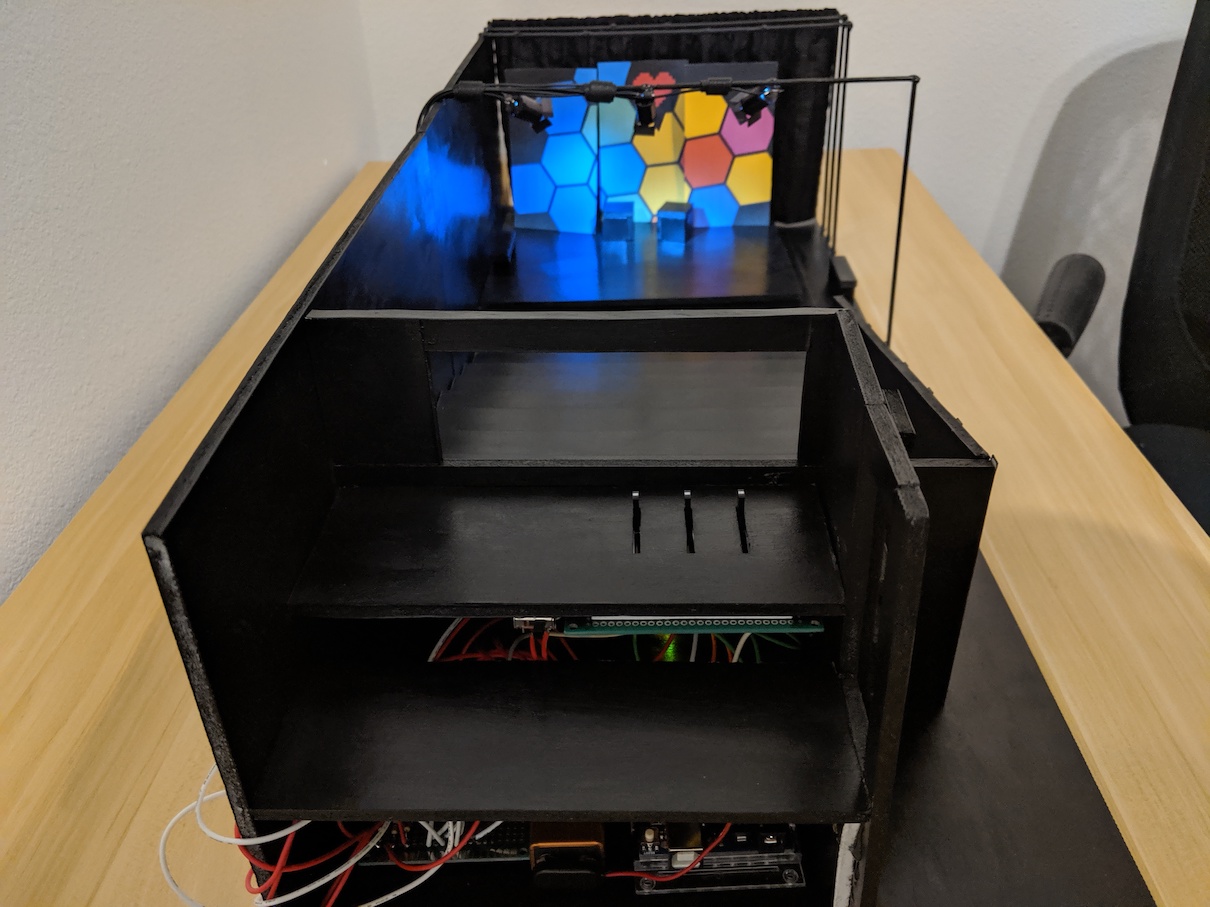
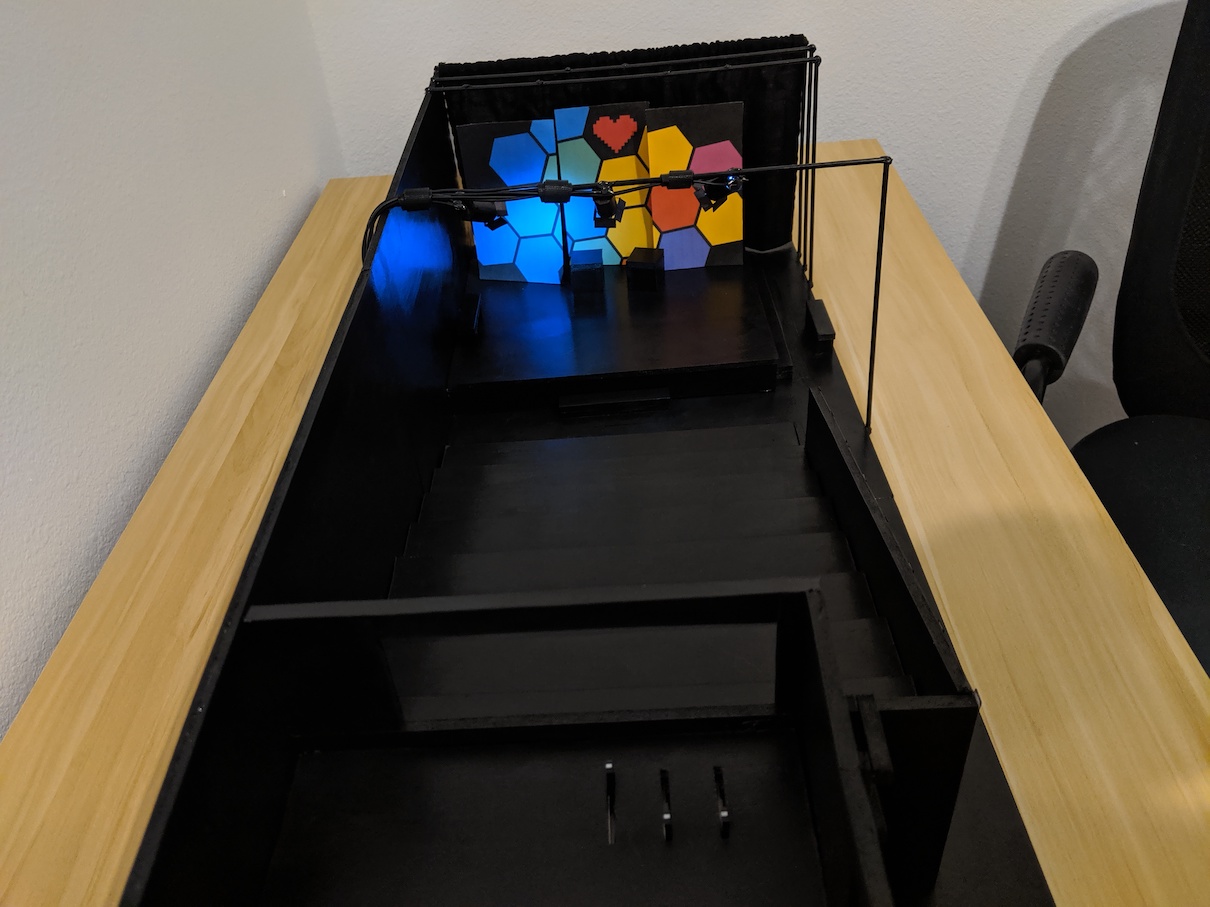
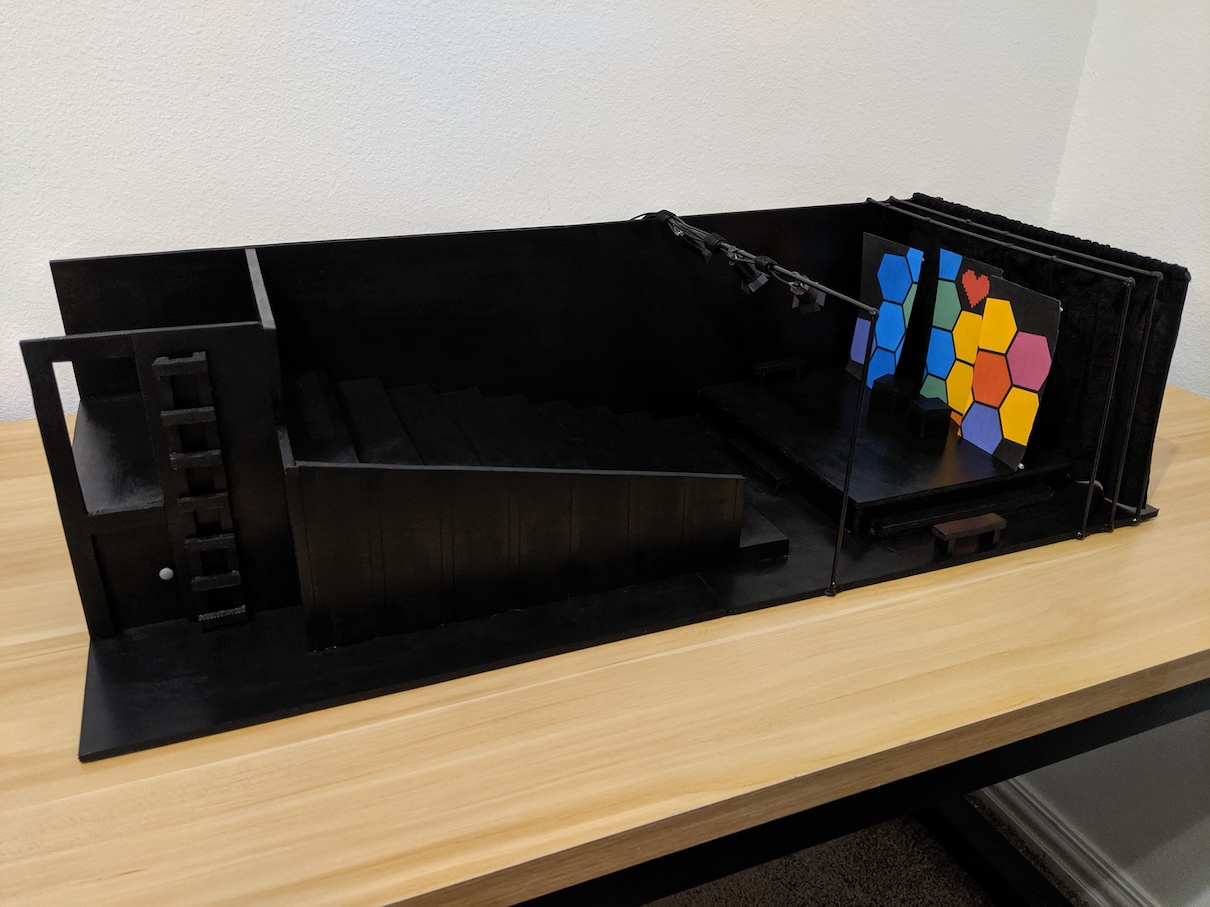
This is a 1:24 scale model I built of the Hideout Theatre main stage in Austin, with working stage lights:

I'd never built anything like this before, so it was super fun and challenging! It is made mostly of foamcore board painted black. The lights run on an Arduino Uno powered by a 9V battery. Almost everything is held together by hot glue.
I was looking for my next project to work on, and wanted to do something that involved building, but also some simple electronics. I take classes (and occassionally do shows) at the Hideout Theatre, and got the idea to build a replica of the main stage. So I started taking lots of pictures and measuring things with my feet by walking paces whenever I was there. People just thought I was being weird. I was able to use these measurements to get the dimensions of most things, but I wasn't at the theatre every day and would miss things, so I had to figure out some of the dimensions using people whose heights I knew who happened to be in my reference pictures.
Here is the real hideout theatre for reference:
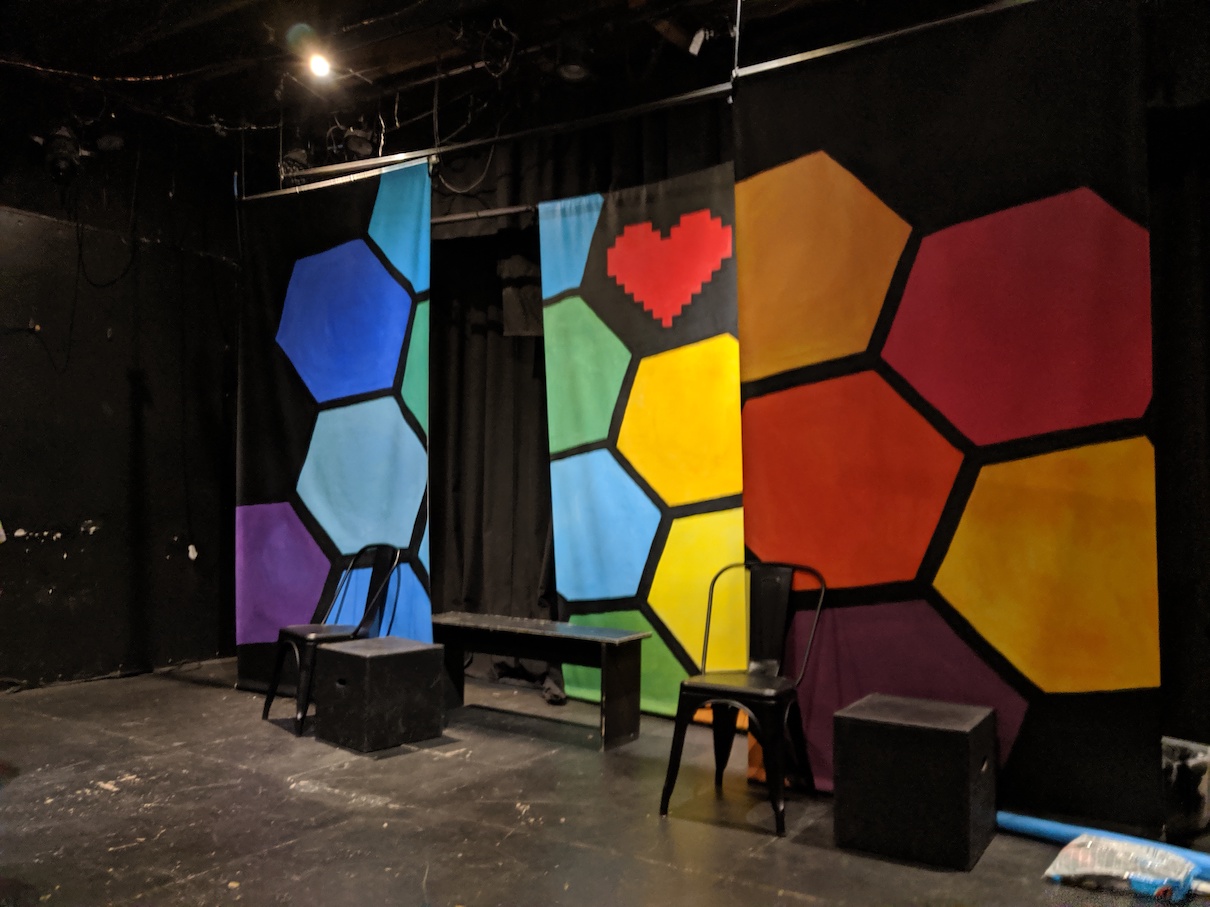
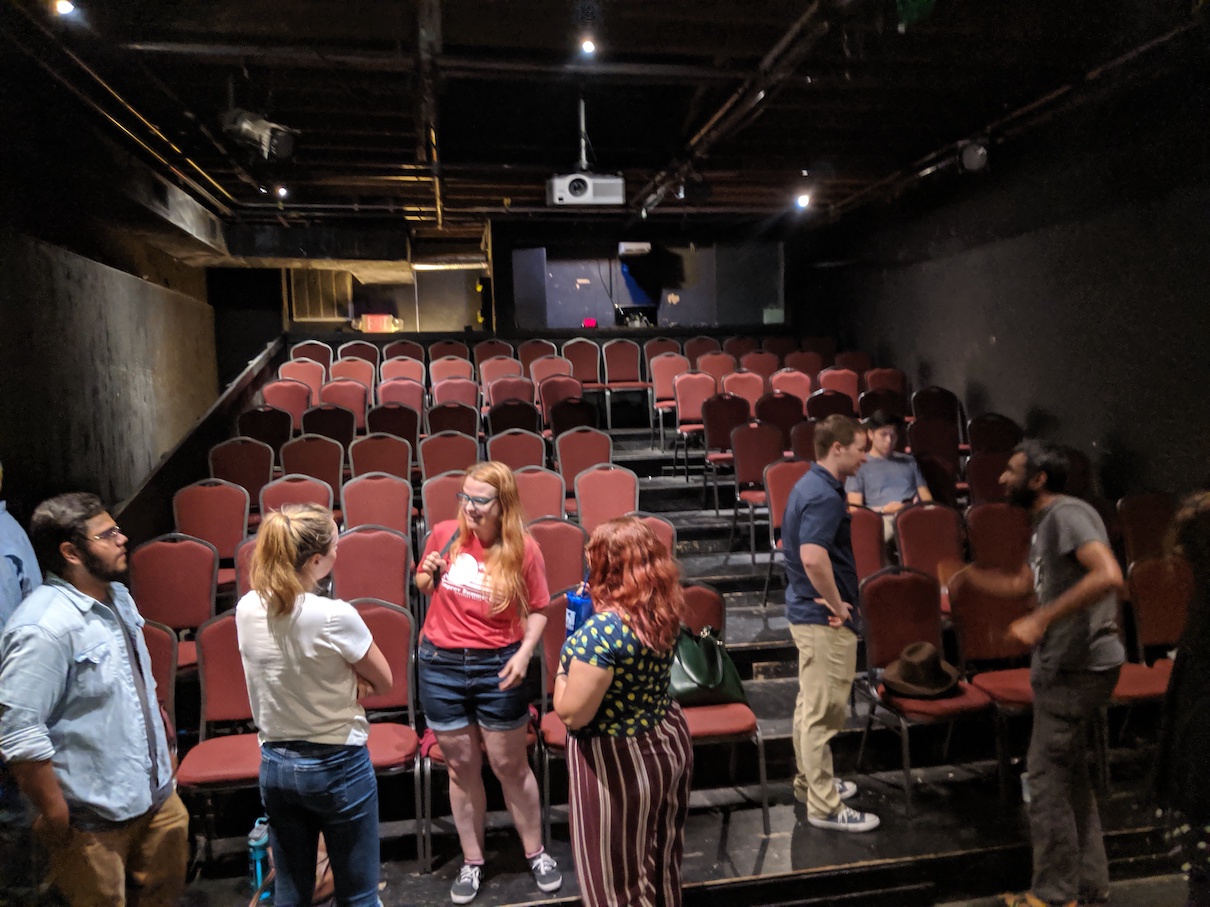
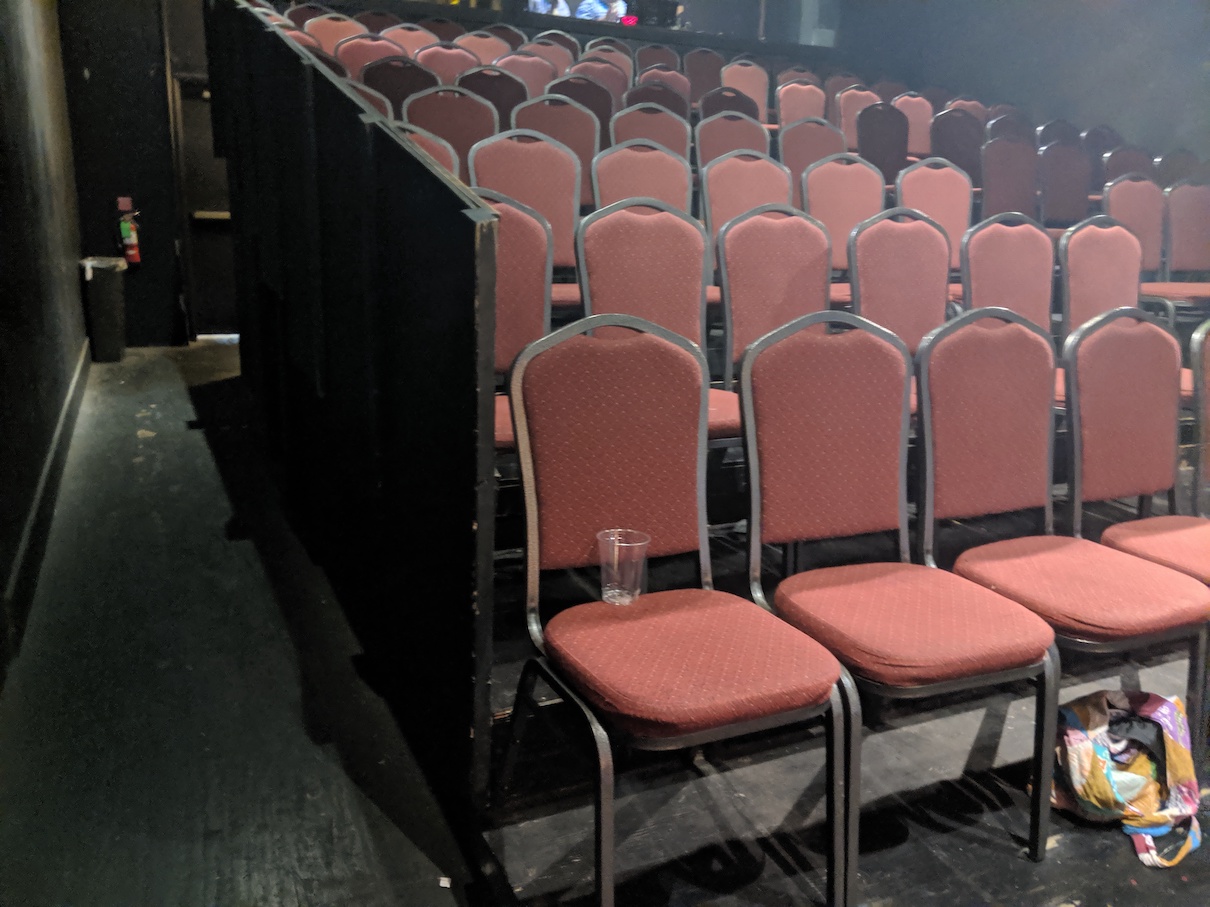
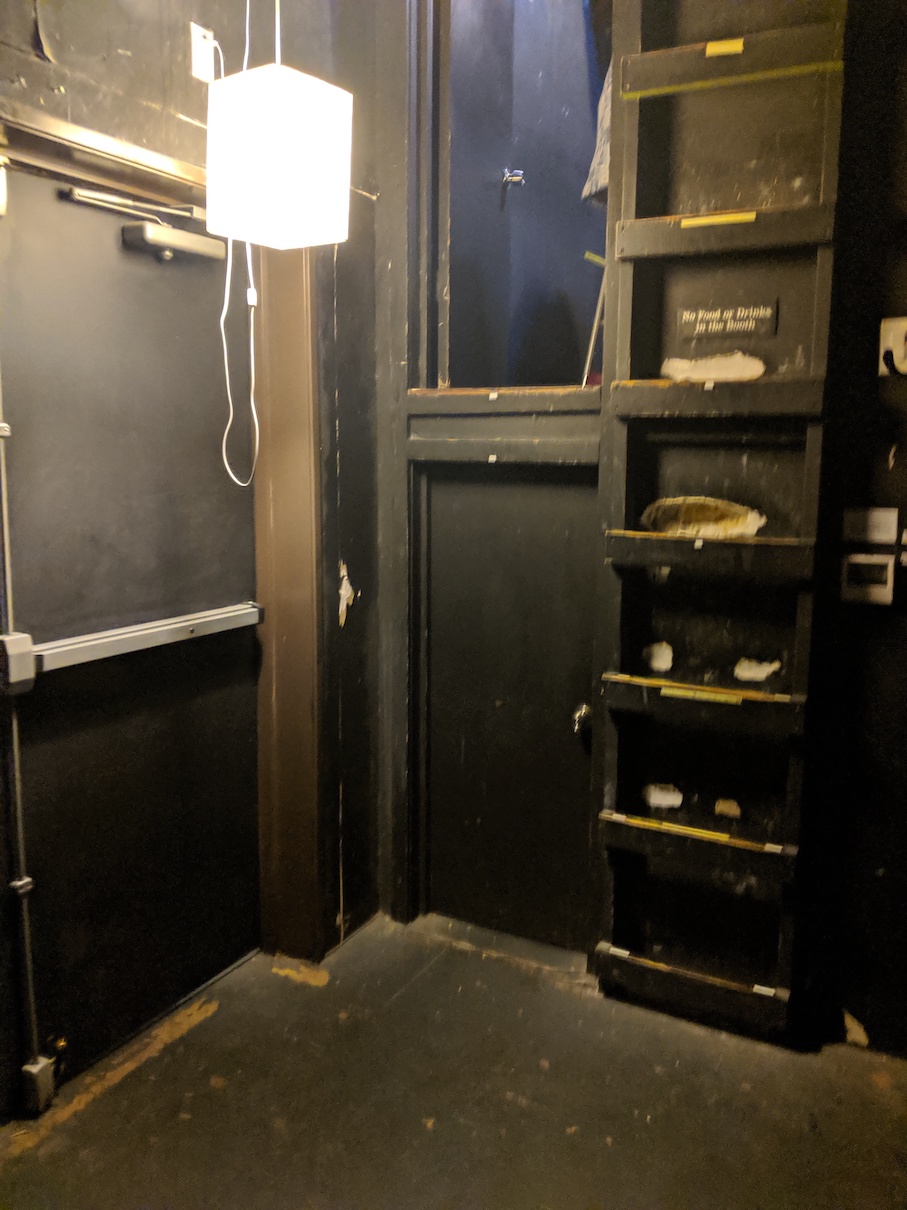
Now for the model!
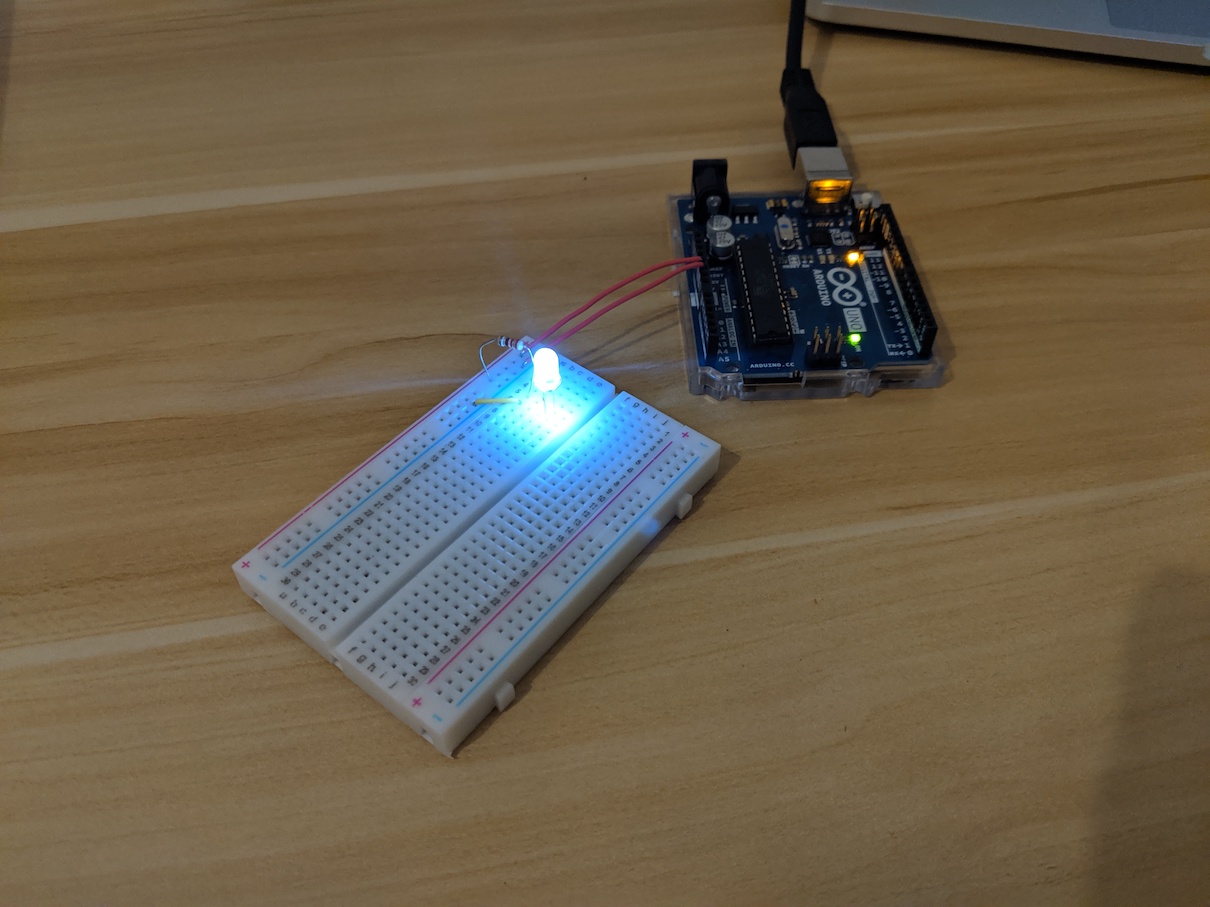
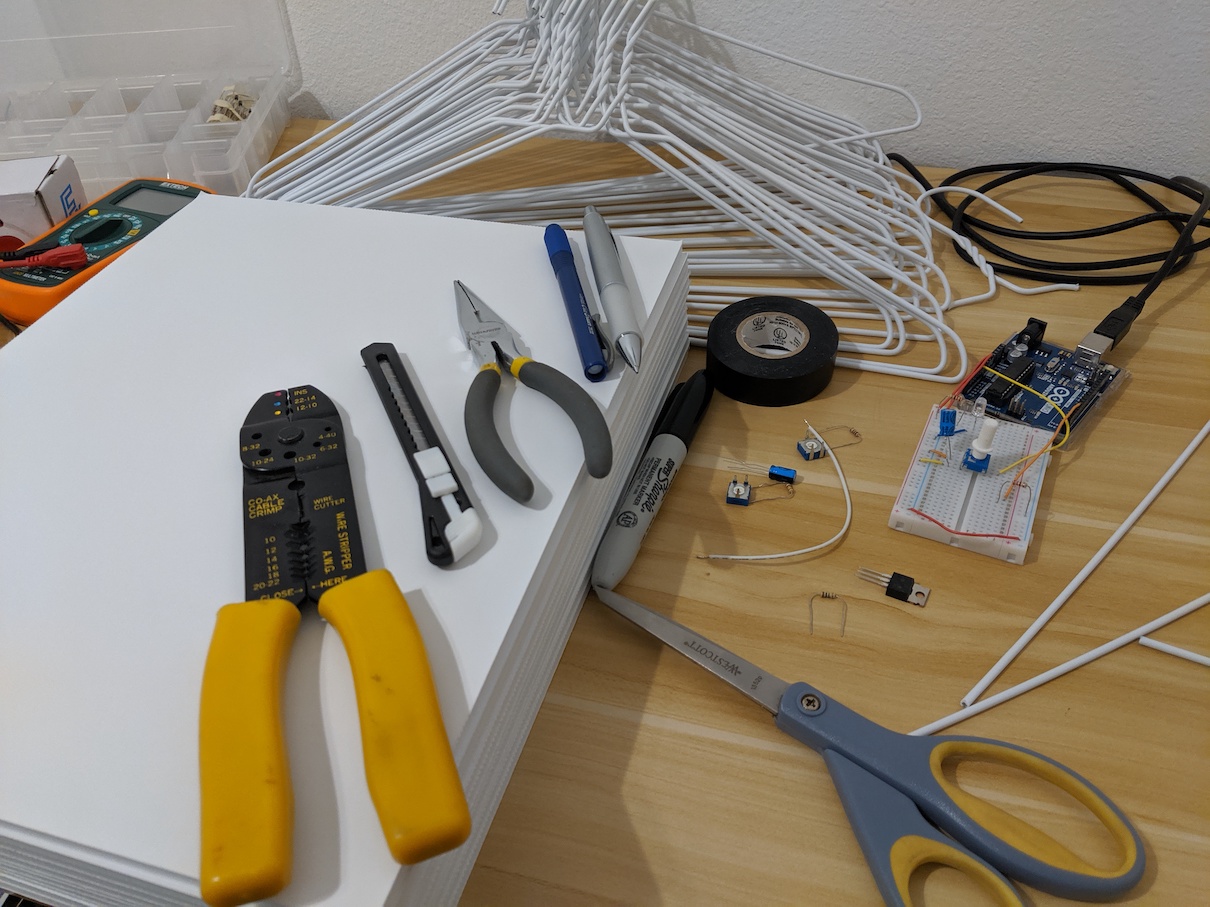
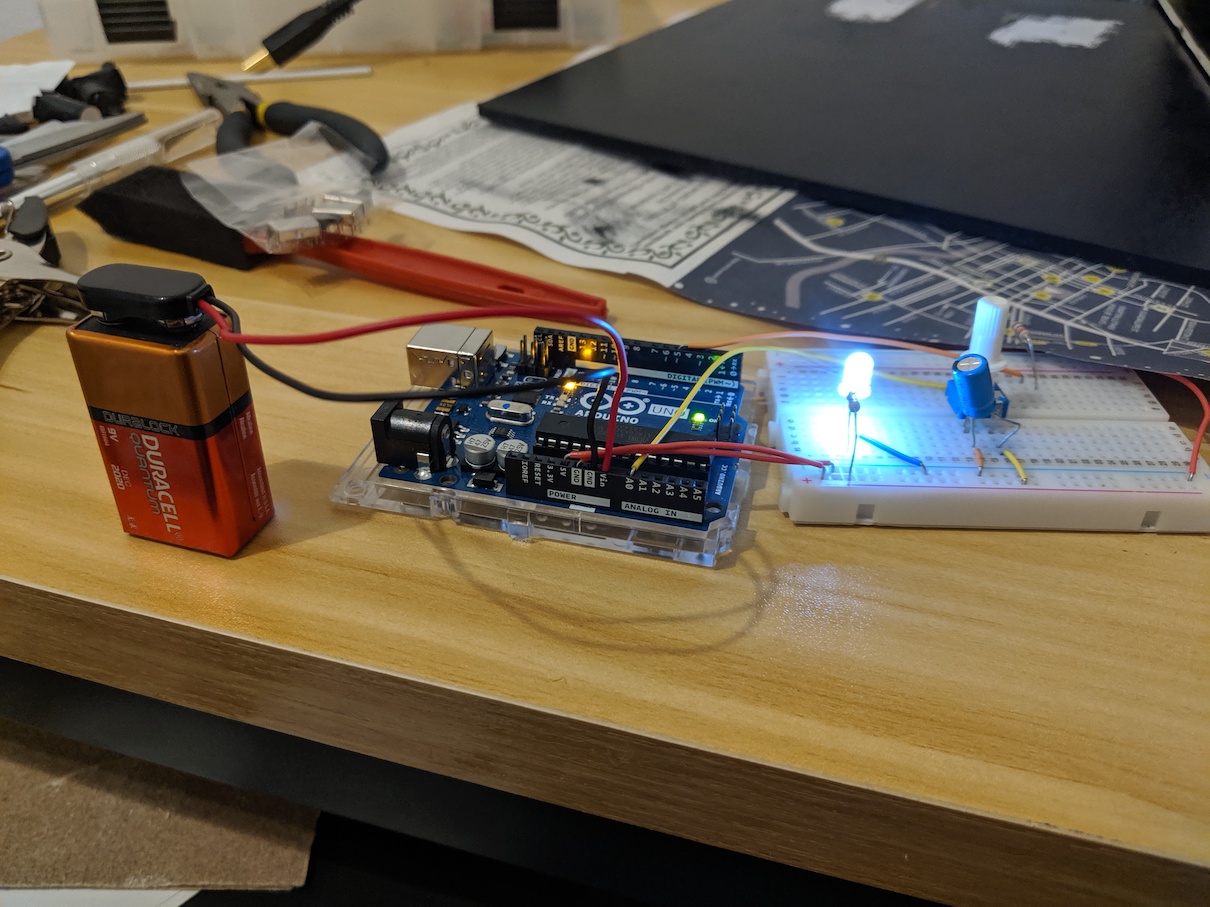
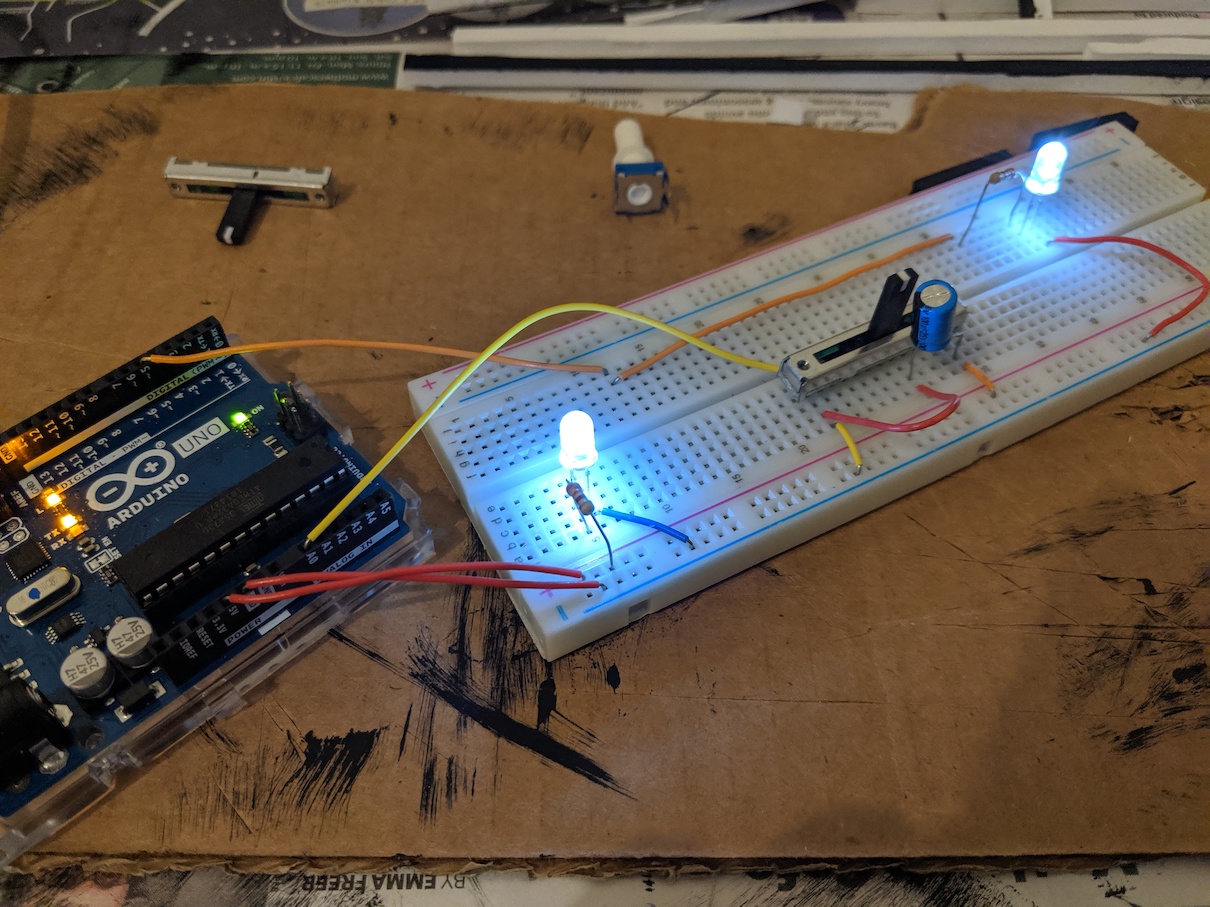
I started with simply making sure I knew how to complete a circuit using the Arduino:
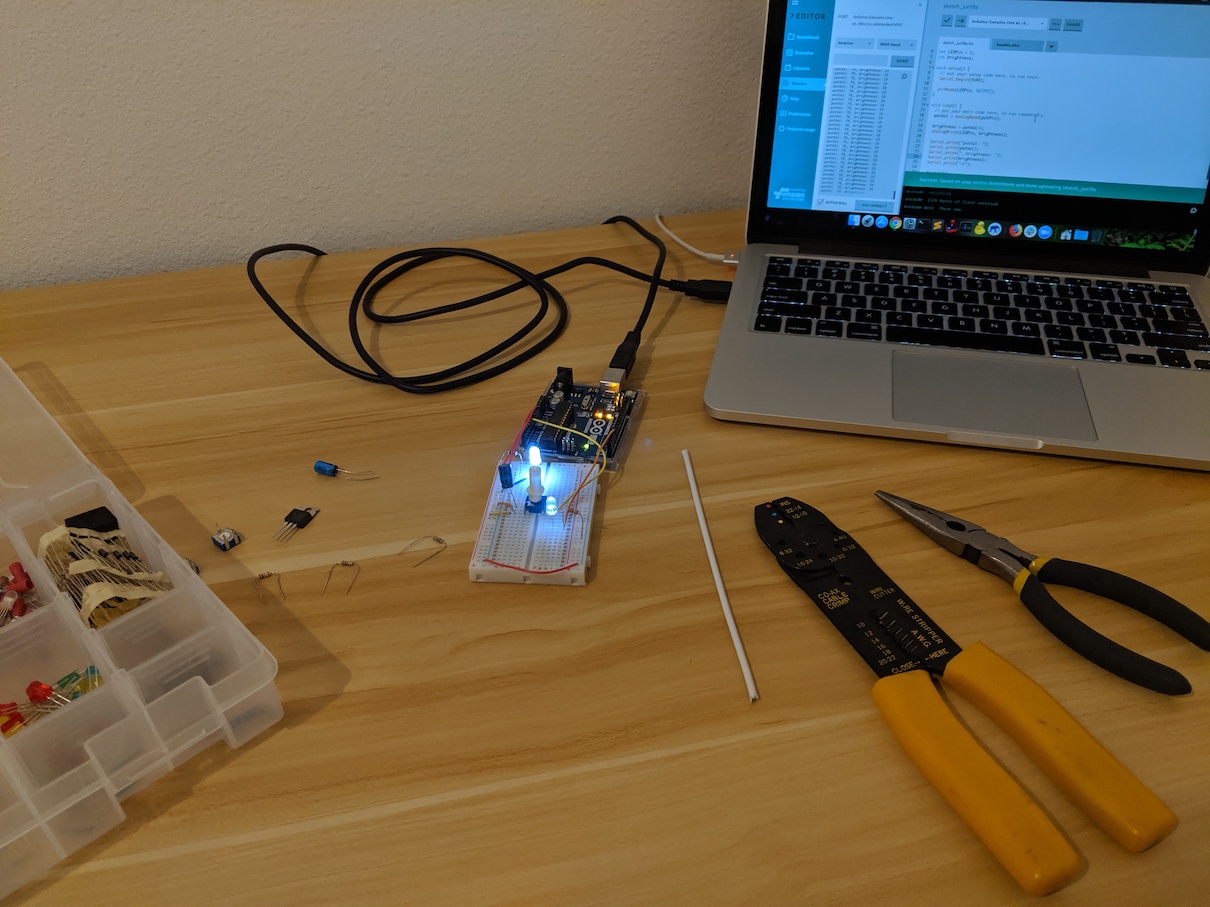
I already had a few electronic parts lying around from another Arduino project, and used them to create this circuit with a potentiometer, to test programming the board and dimming the LEDs:
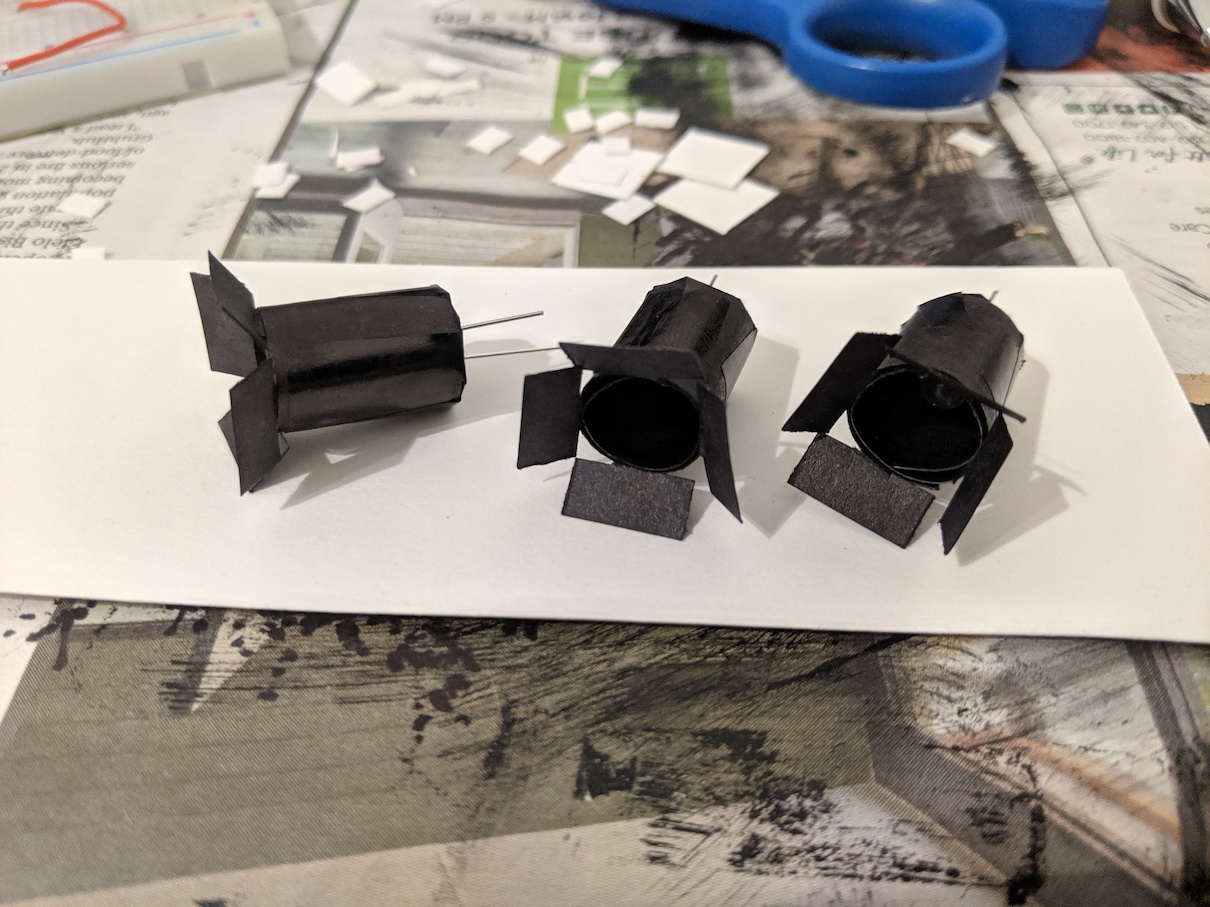
While I waited for my ordered supplies to come in, I started prototyping stage lights to suspend above the stage:
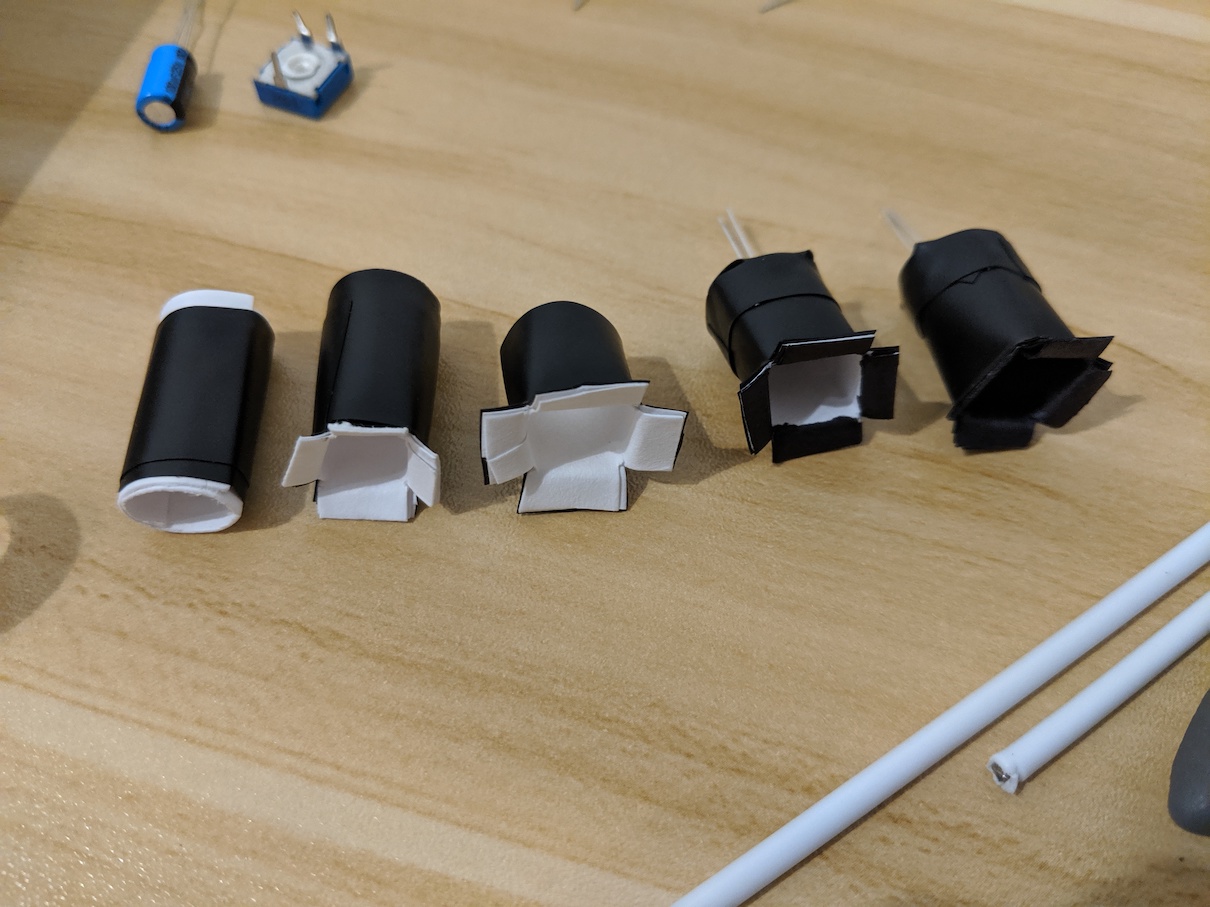
These versions were just cardstock printer paper and a lot of electrical tape and Sharpie. They got the idea across, but they were also kind of sloppy, and I later found a much better way to make them.
The rest of the supplies are in!
All in all, I ordered the above Arduino Uno (and USB cable), a 100-pack of 5mm LEDs, a 36-pack of wire clothes hangers, and some breadboards for prototyping. The rest I had on hand.
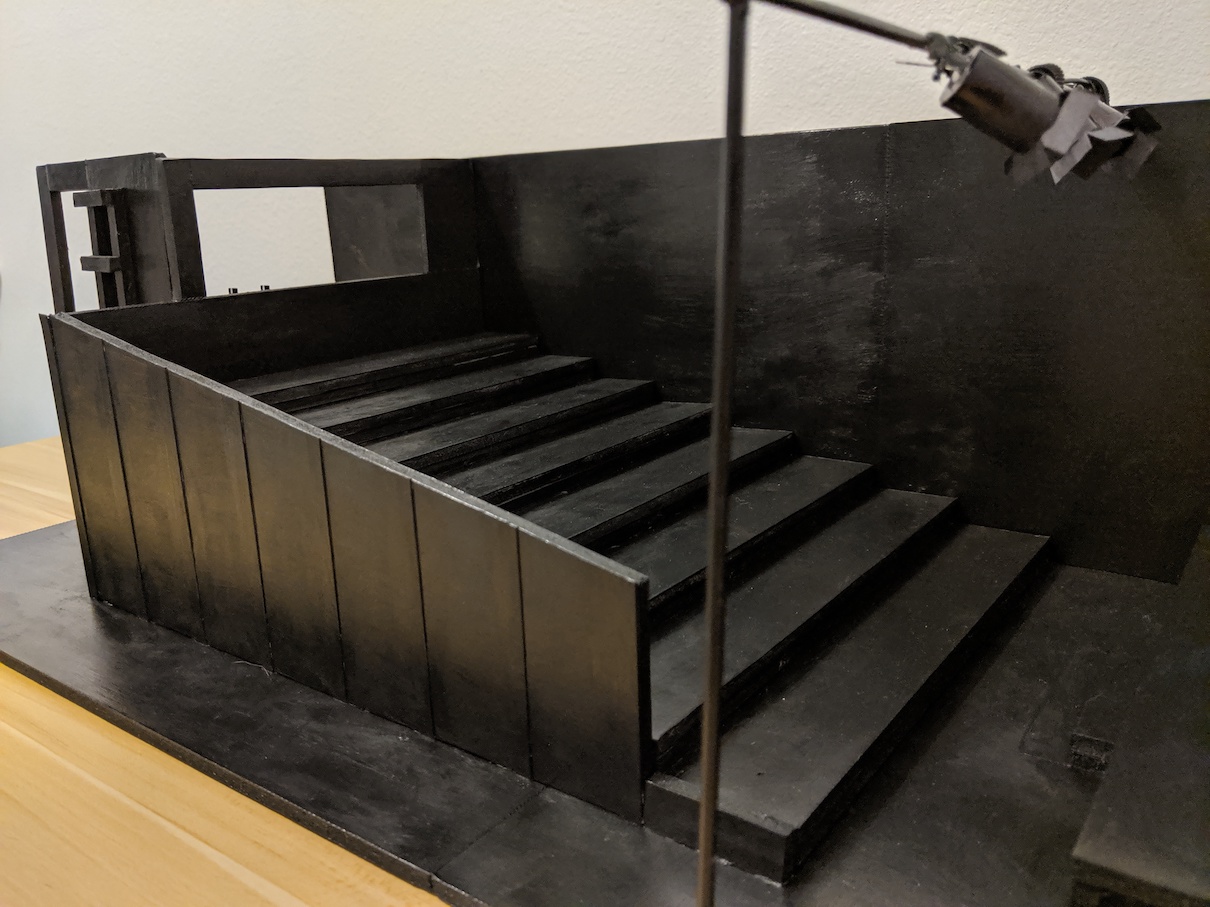
I started by painting and constructing the stage area:

Then I added the back wall:
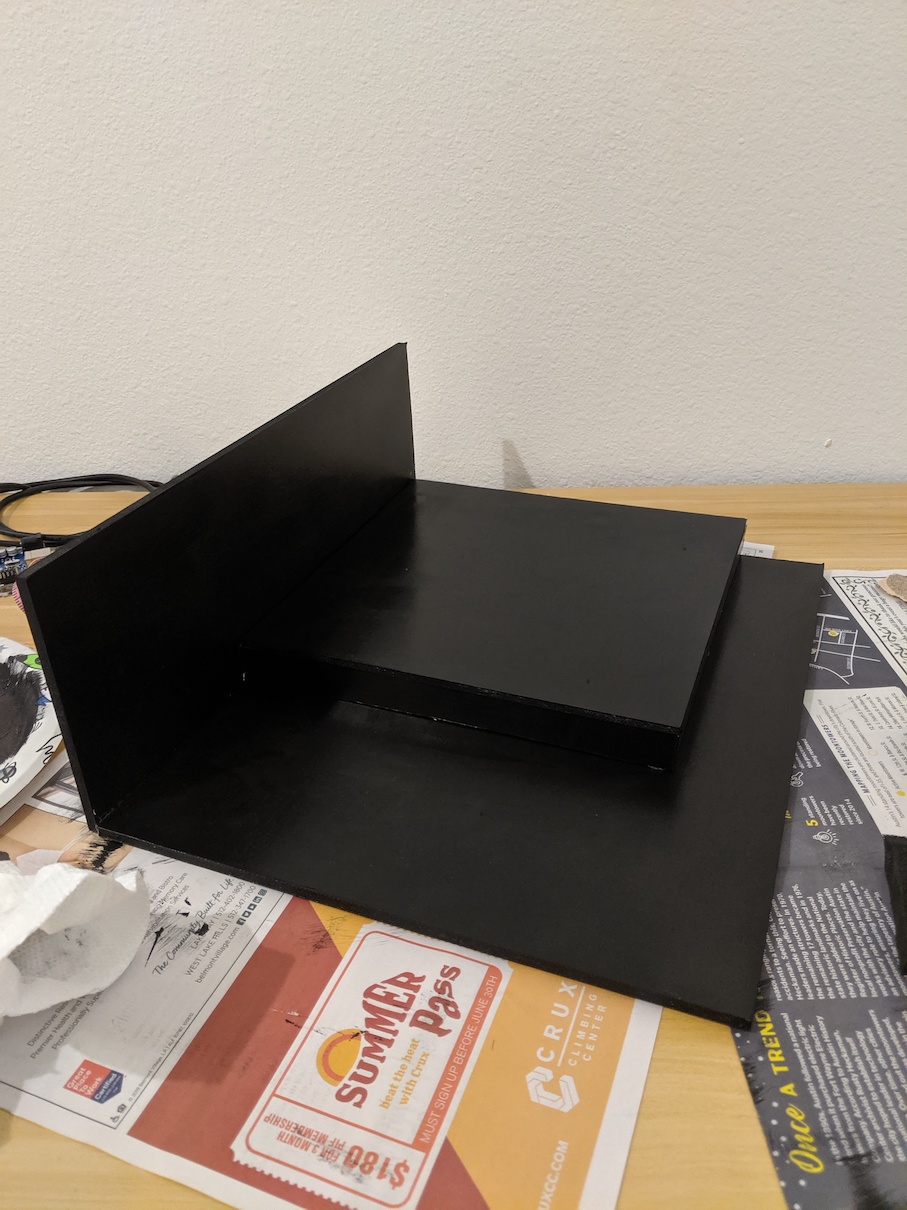
This was too short, and I ended up re-doing it two more times. It was really stressful having to tear it off and cut/paint/glue a new piece in its place!
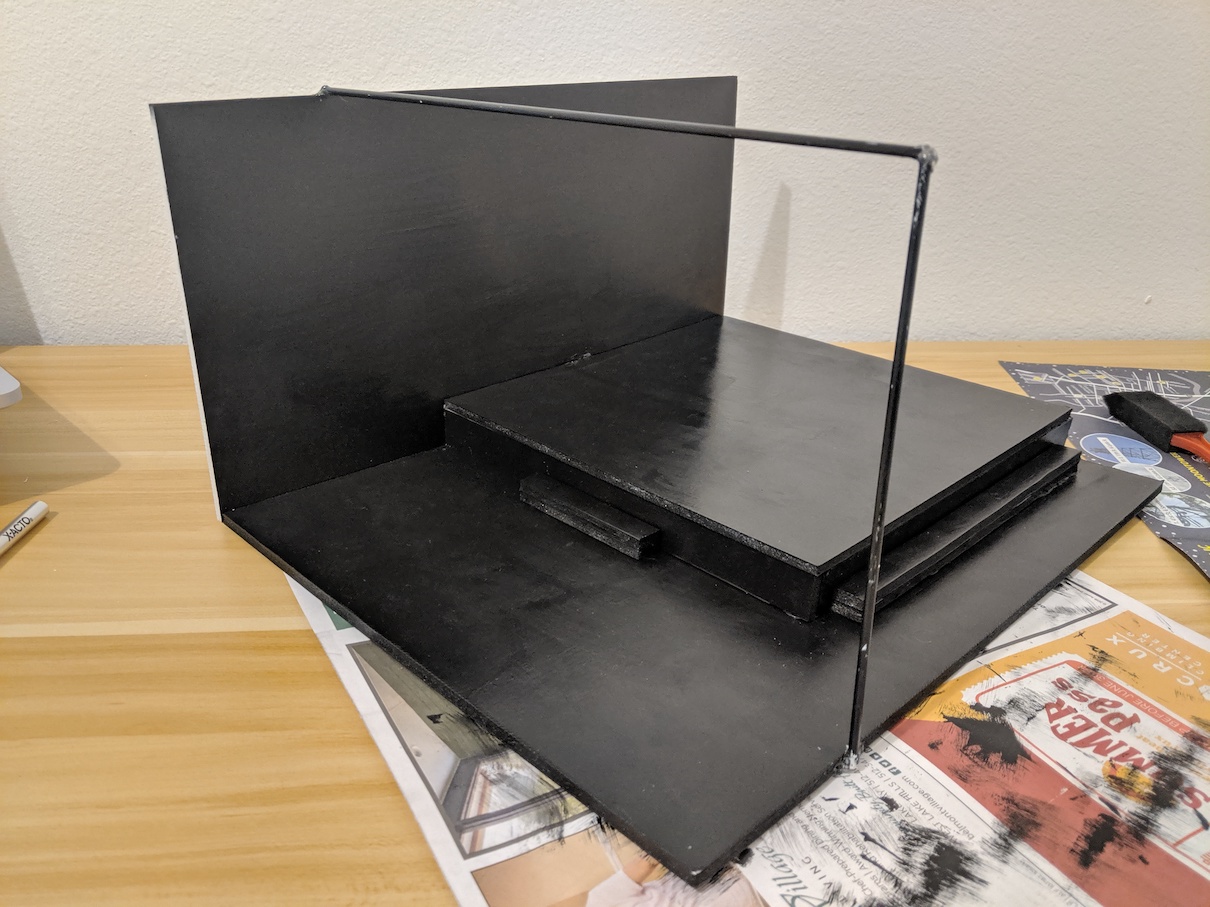
Then I added the first bits of hanger for the lights to hang from:
There is a curtain that hangs behind the stage, so I bought a yard of black cotton, and started prototyping. I happened to be visiting my parents for 4th of July, and my mother has a very nice sewing machine, so she was able to help me out with hemming a few pieces of fabric. (Thanks, Mom!)
But, cotton doesn't behave the same at small scale, and it wanted to bow out like this:

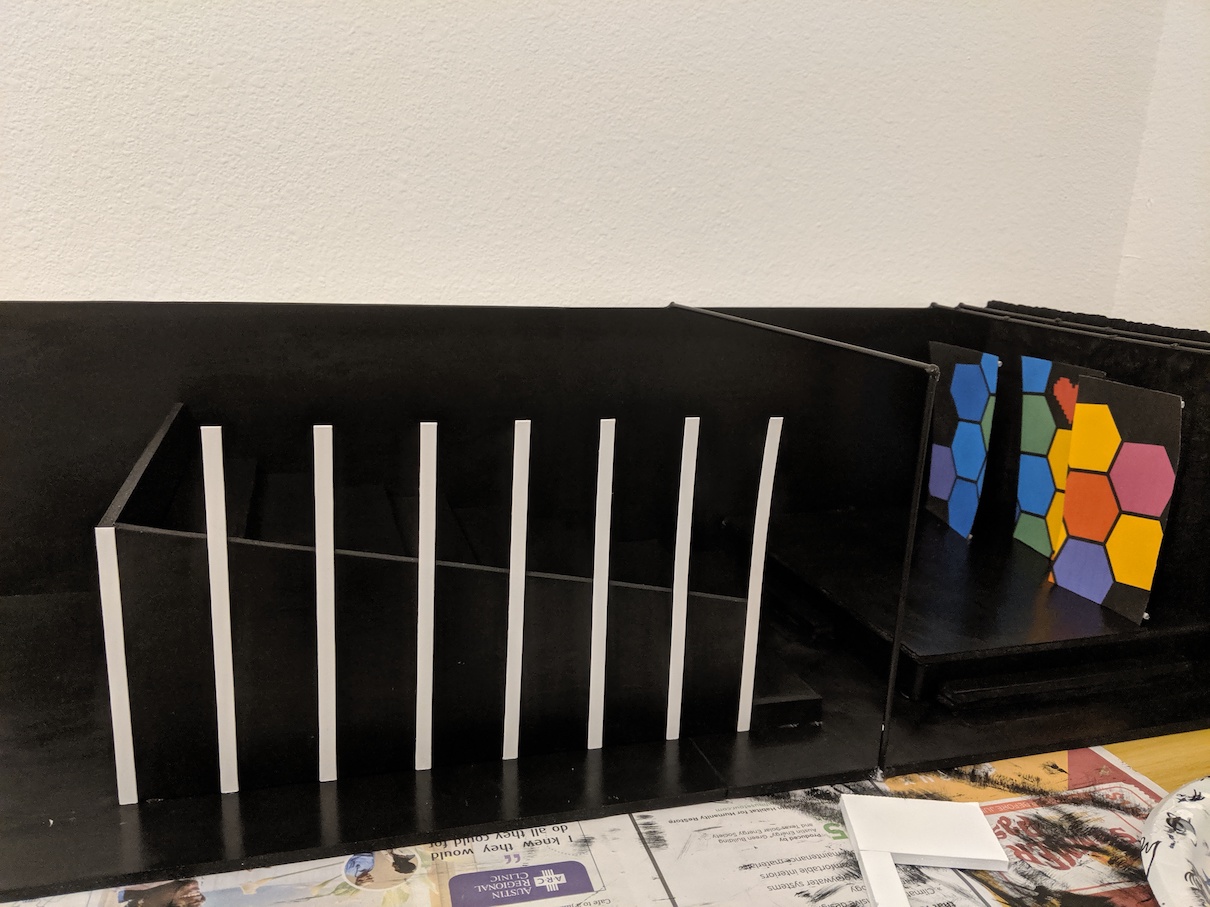
It didn't have the ripples I wanted, to match how the real things looks. I considered using a different material like silk, but didn't think it would look right. So, I had to get creative:
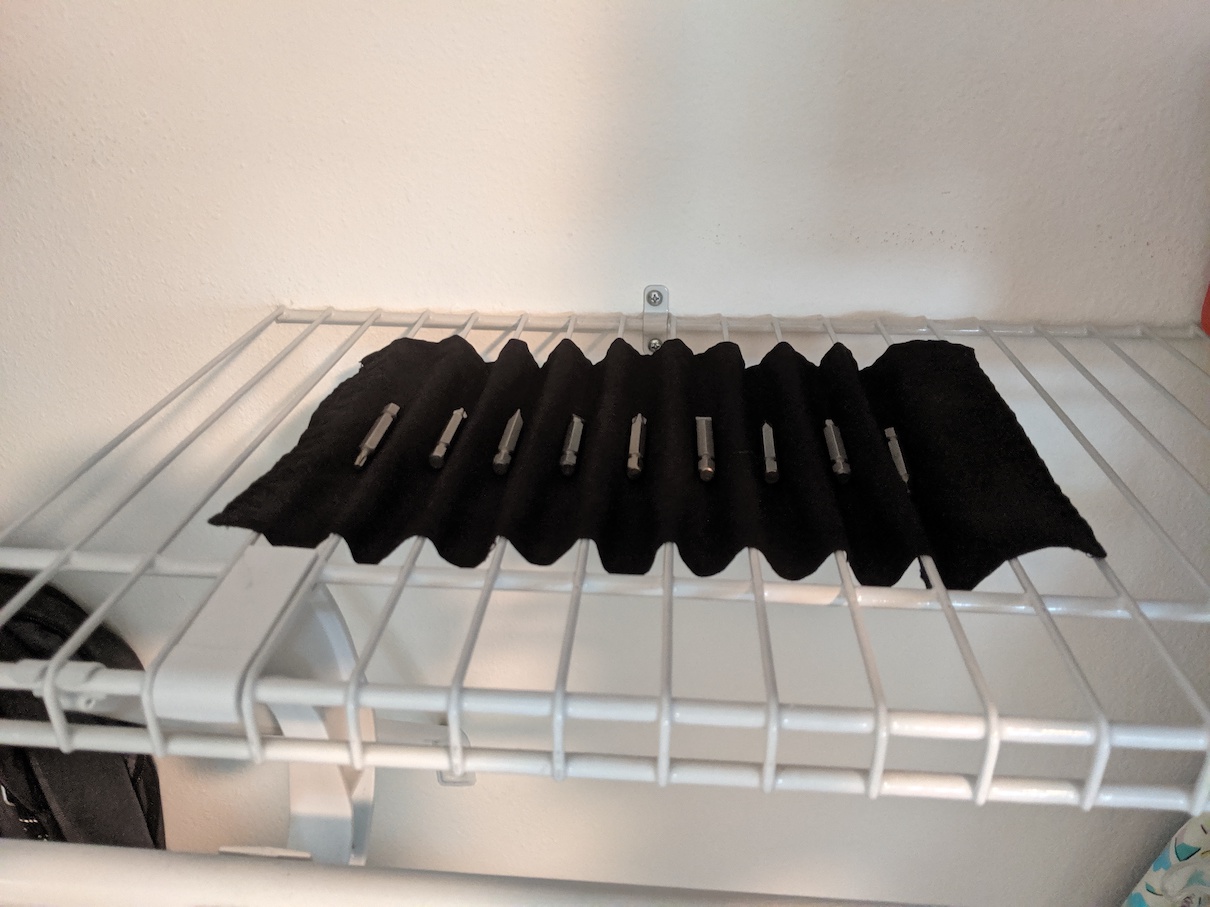
I sprayed the cotton with water to get it damp, laid it out over this closet shelf, and put some drill bits in the spaces between the bars to force the fabric to dry into the shape I wanted. It worked like a charm!
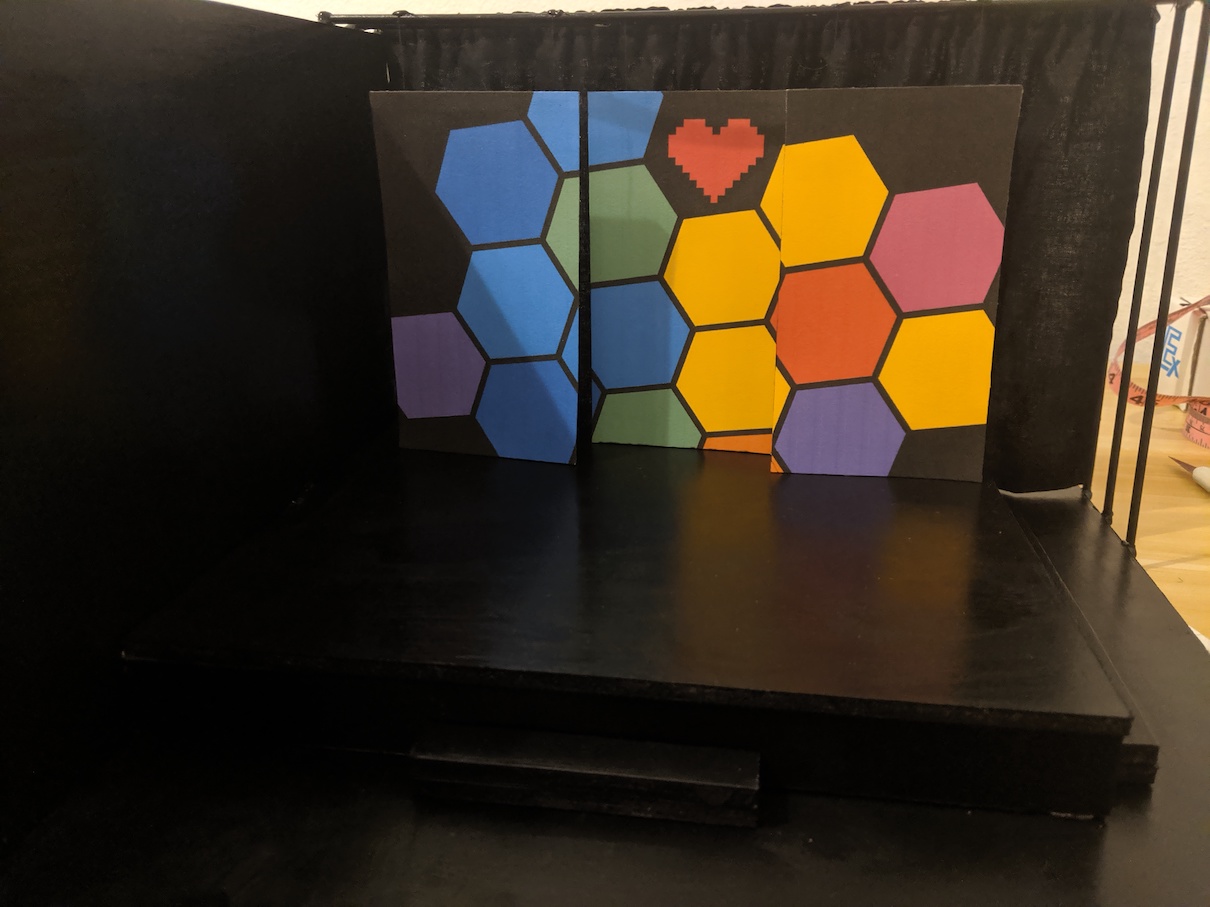
Next, there was the banners that hang on stage. I started by manually recreating the graphics in GIMP:
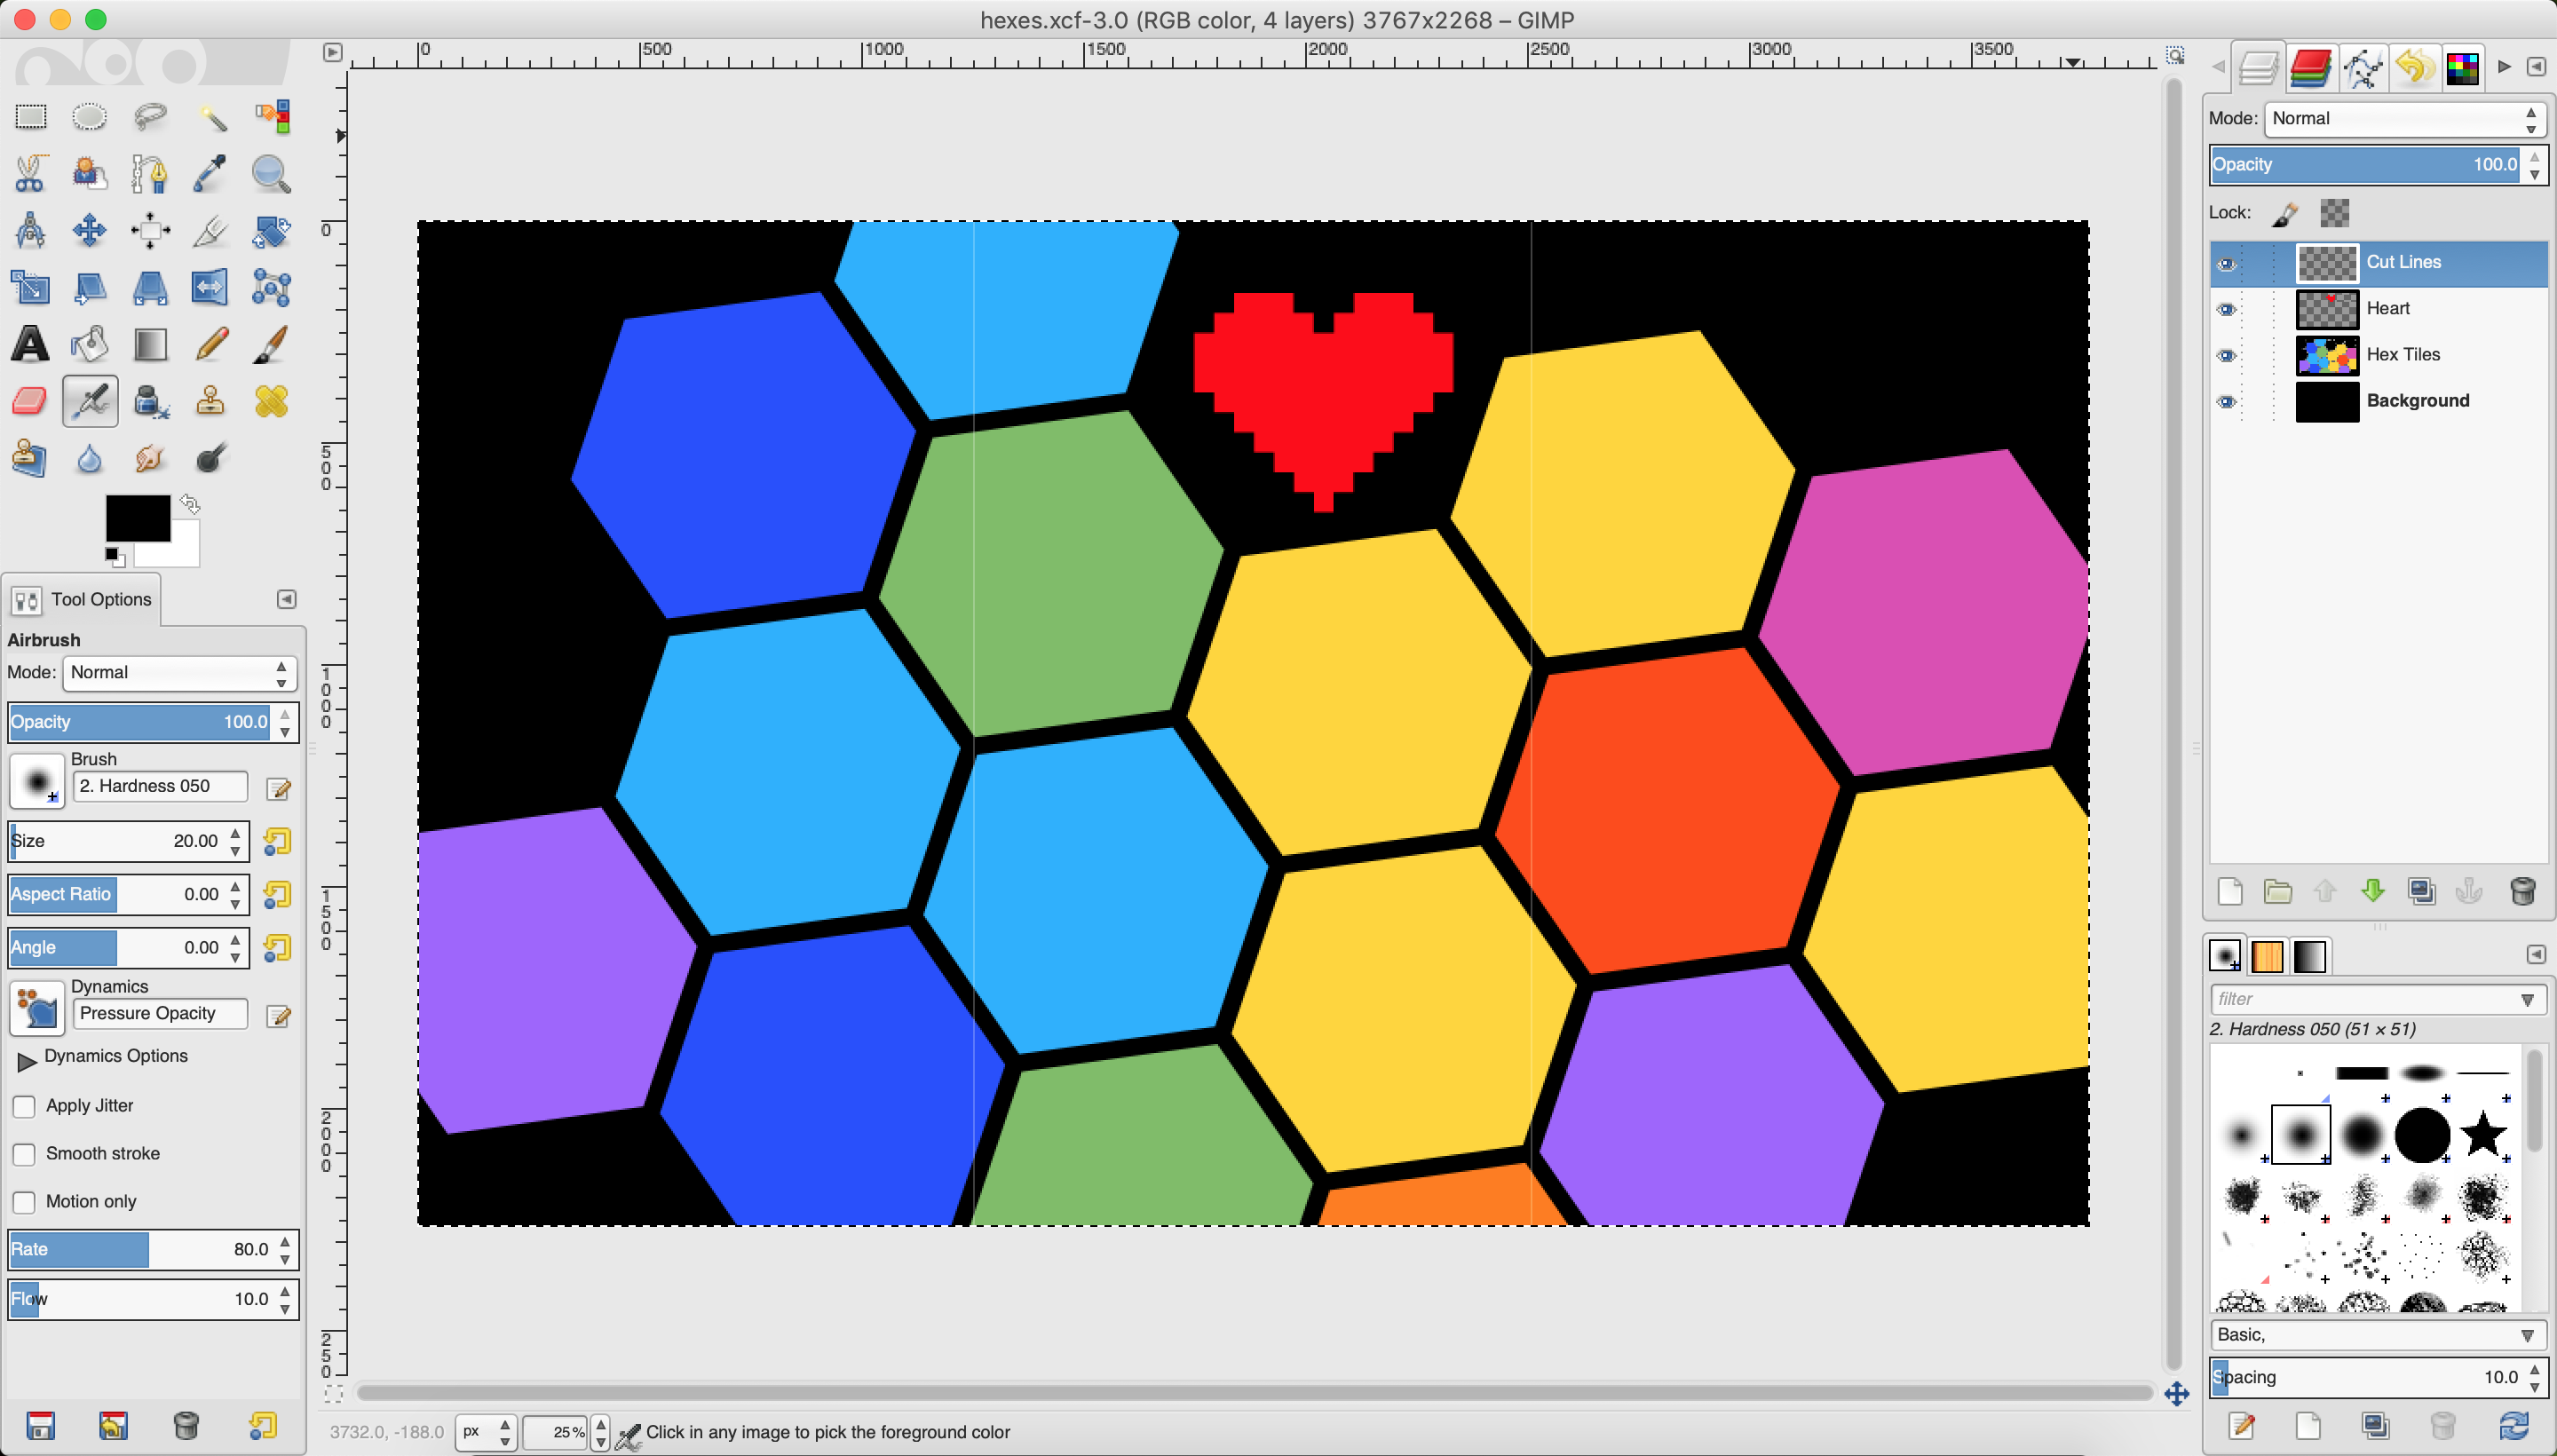
This took a while. I had to generate hexagons, get the spacing right, create the pixellated heart, position it, tilt the hexagons around the axis of the heart to the right angle, make sure the cut lines match the real thing, get the scaling right... Matching the colors was really difficult as well, as they looked different in every reference picture I took depending on the lighting.
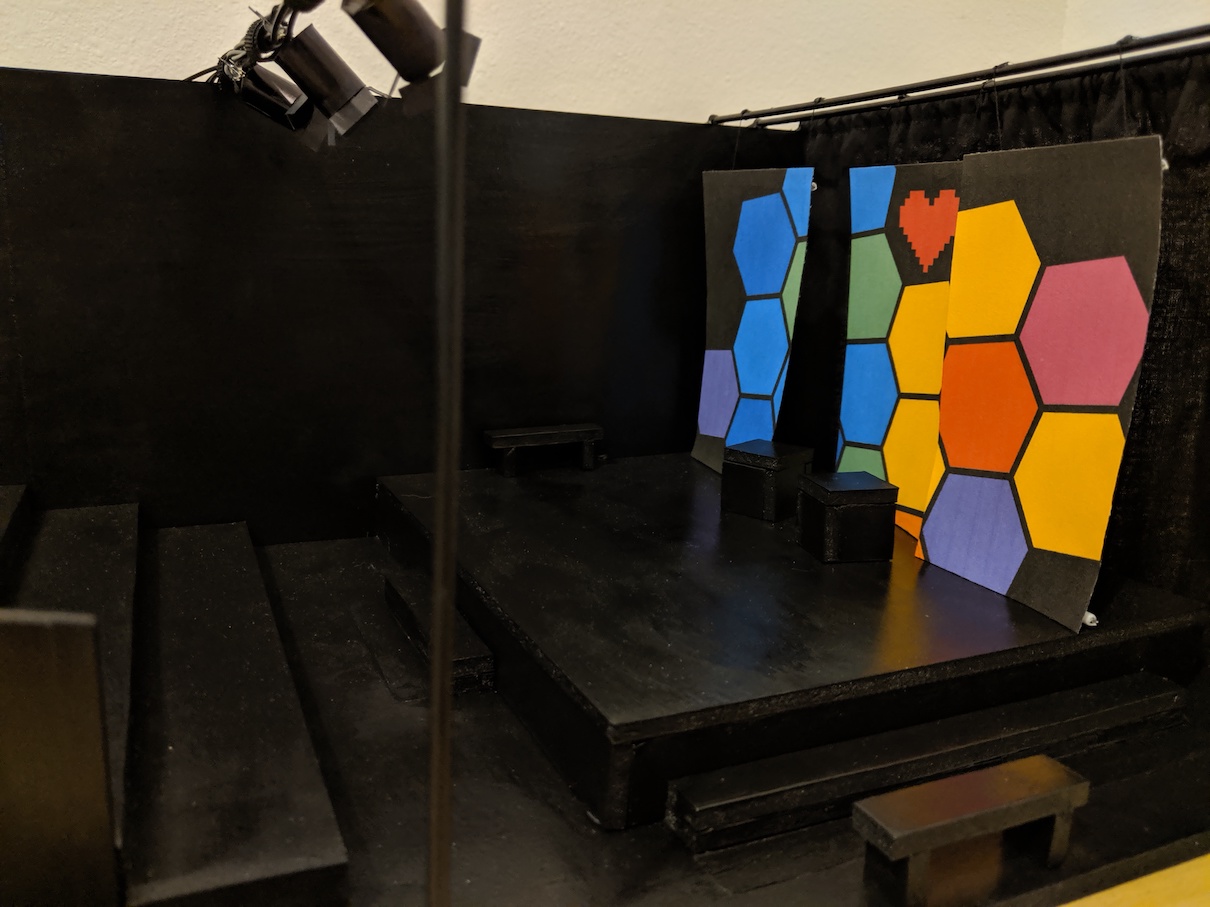
But they eventually came out really well!
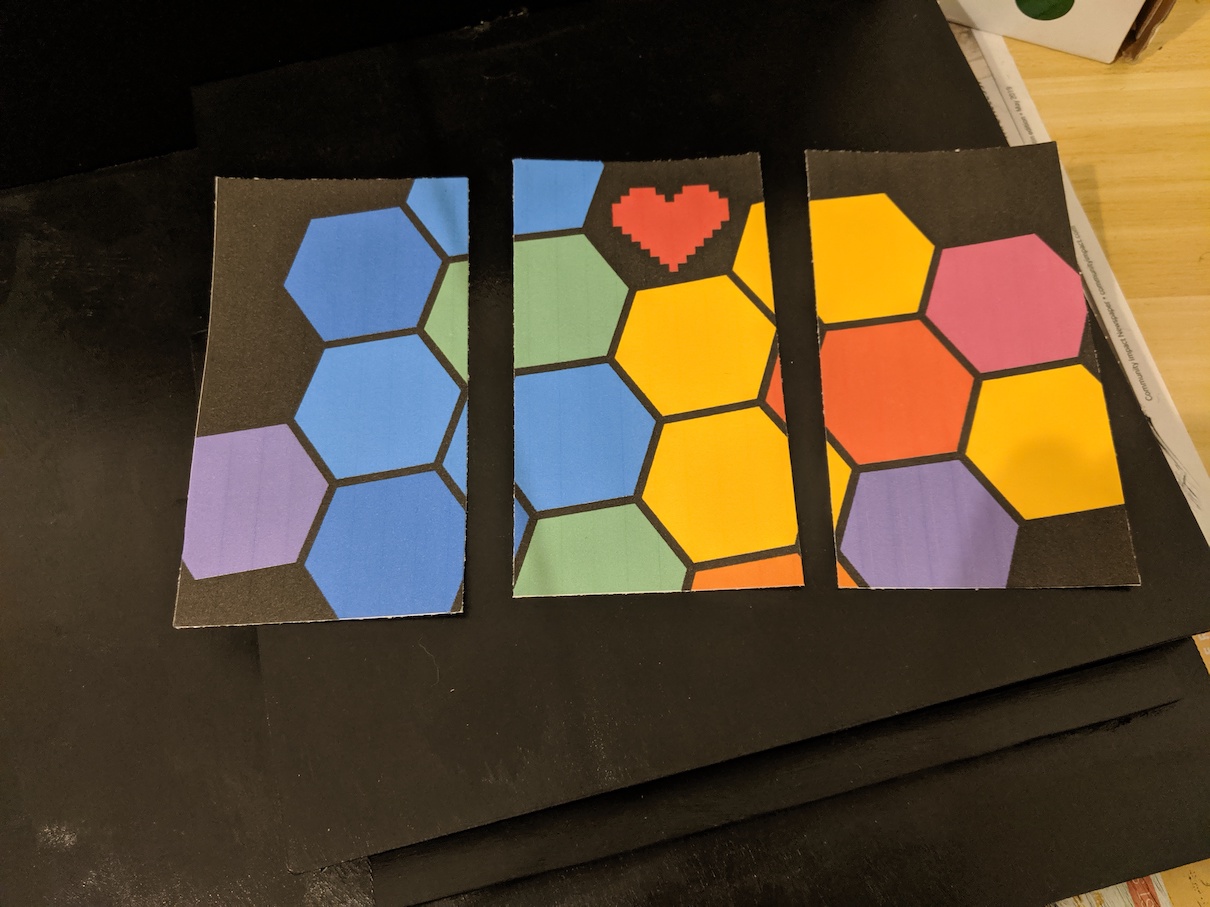
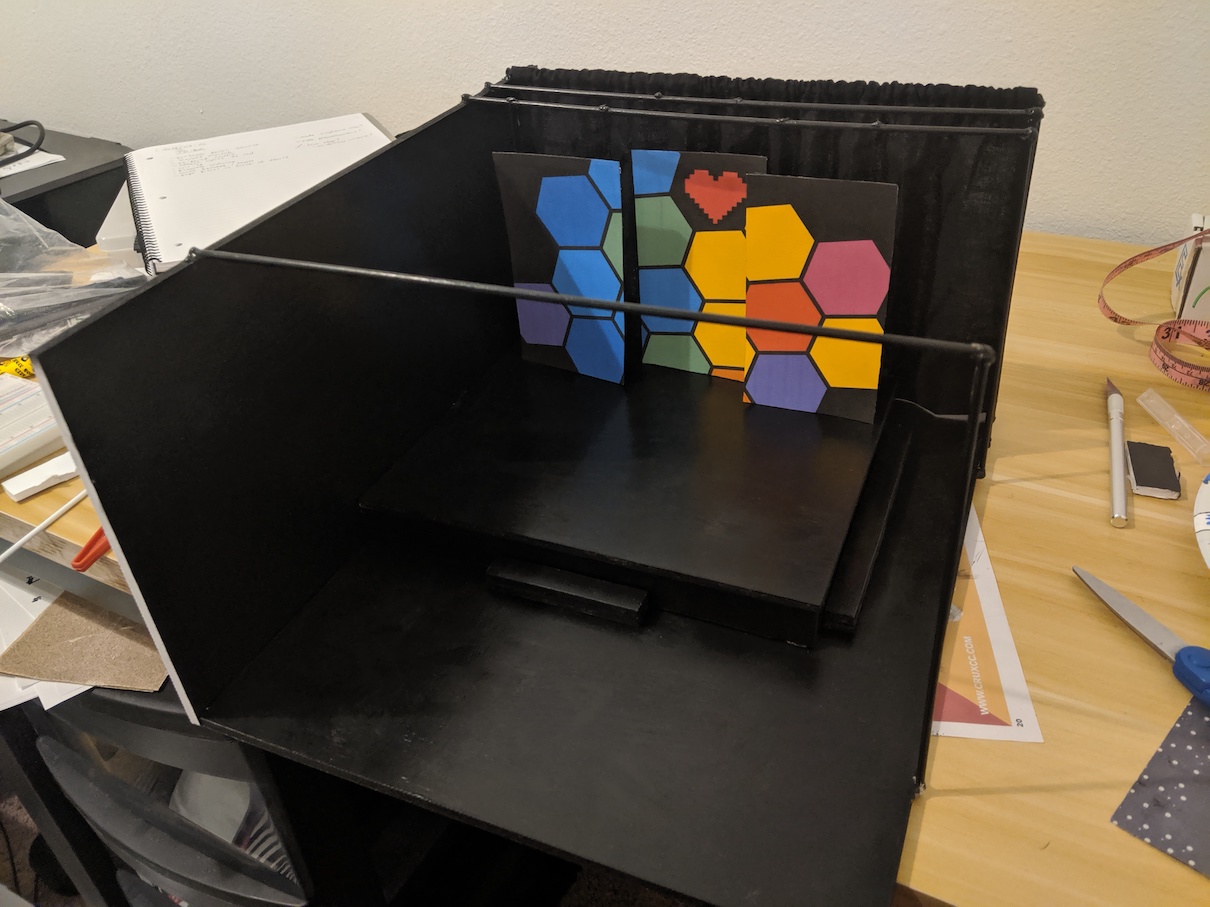
Then I attached a short piece of hanger to the back so they could hang from above and keep their shape:

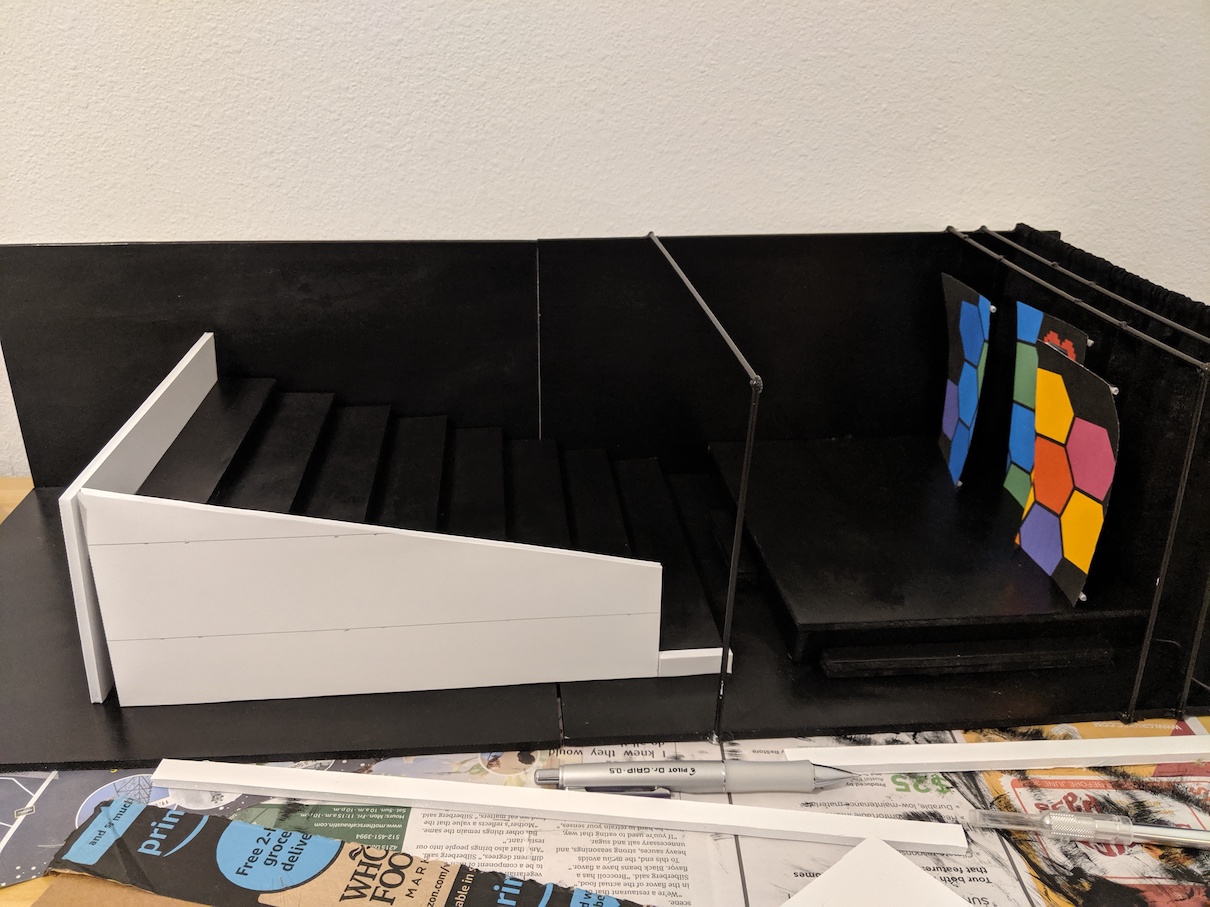
And here they are suspended by sewing thread:
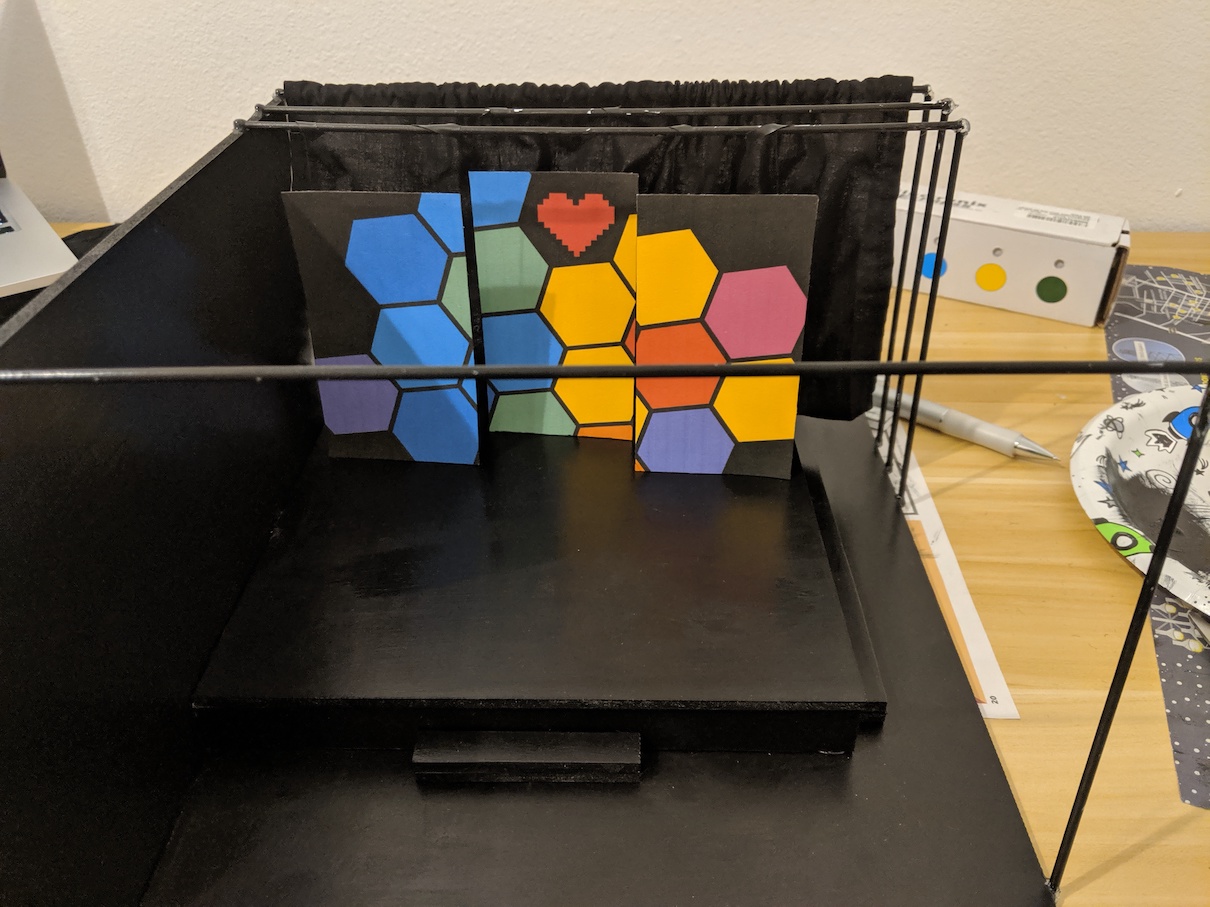
Not bad! Starting to resemble the real thing.
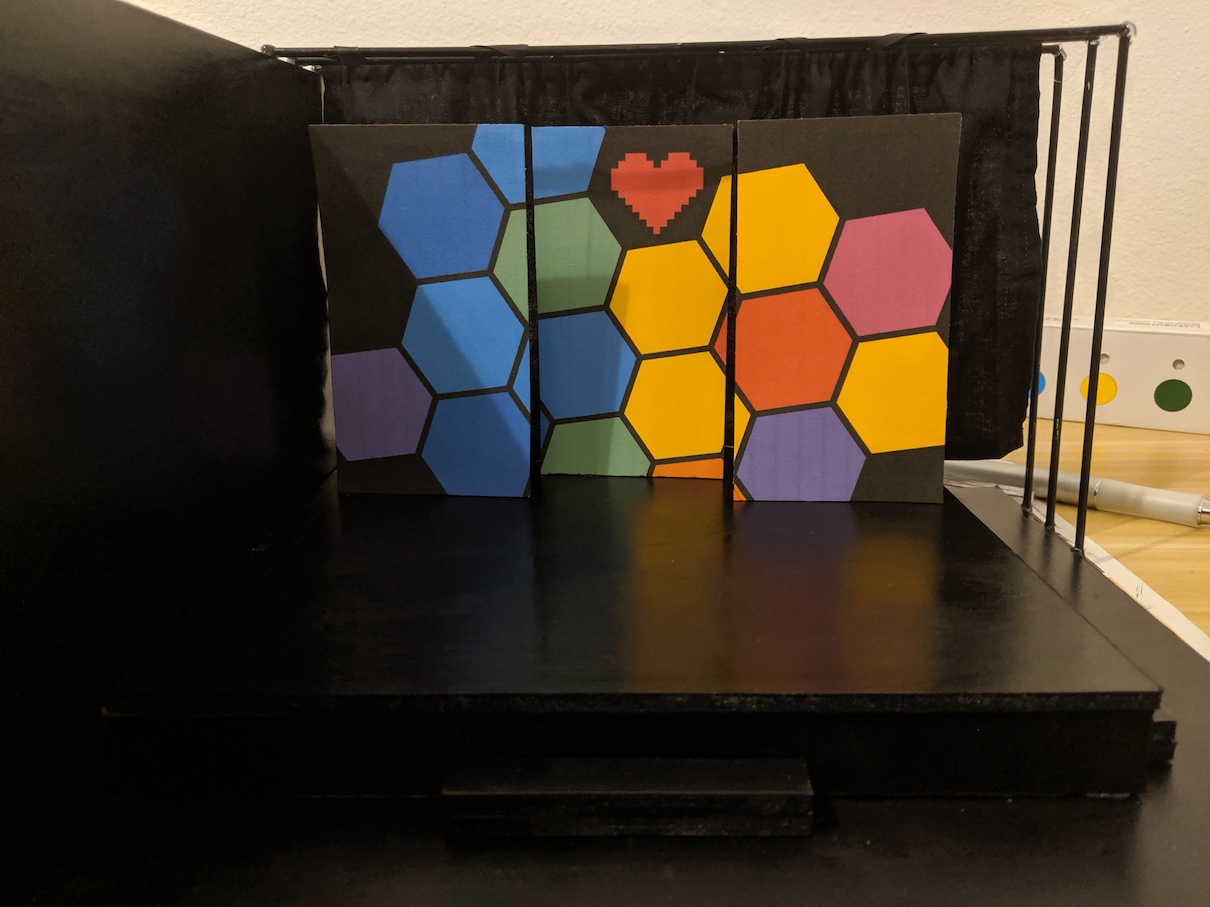
I didn't like the curtain being this short. I had prepared a few different lengths, so I tore the pieces of hanger off, and replaced it with a longer curtain.
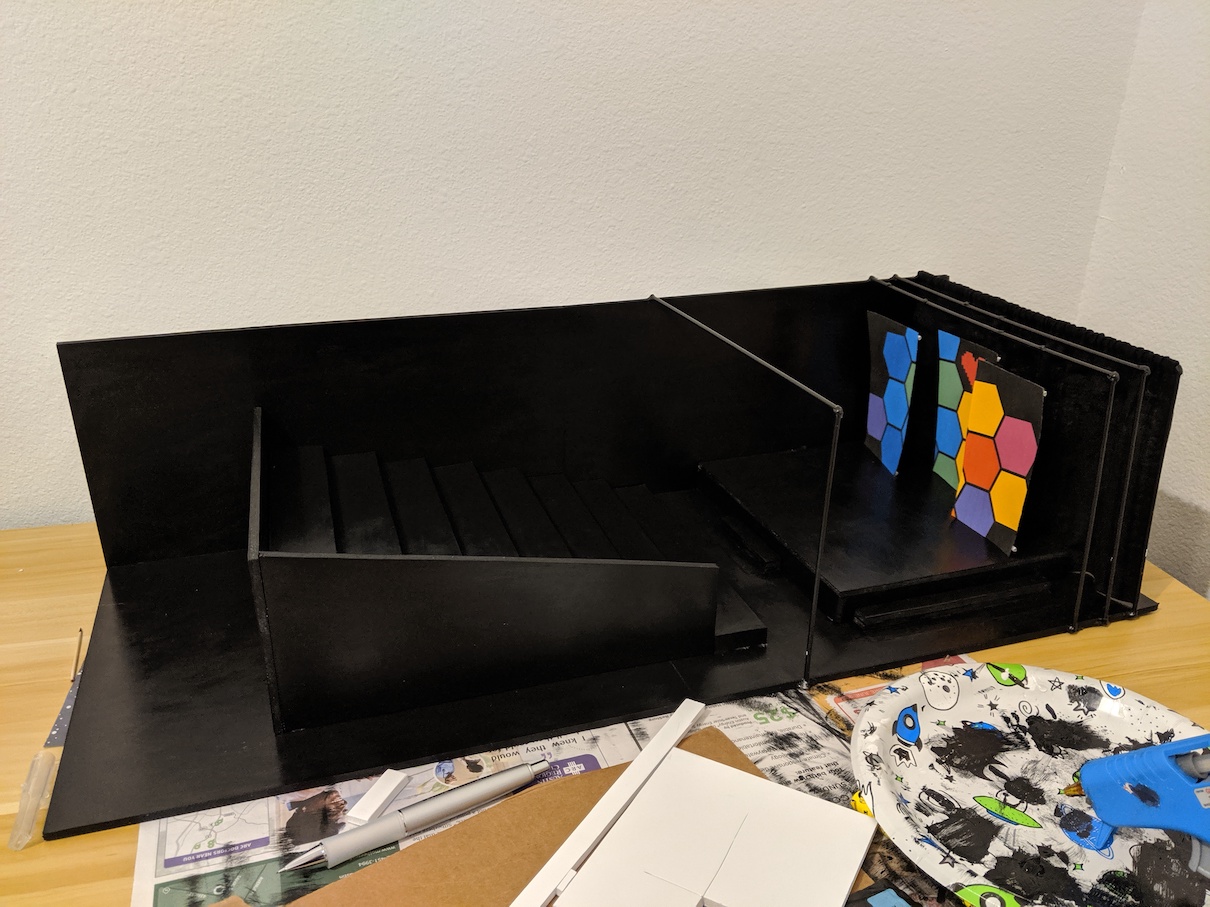
Ahh, much better. I also had to do a bit of surgery on the stage to put this longer curtain in place. I cut about an inch off the back of the stage while it was already in place, which was really nerve wracking! If I messed this up badly, I'd have to start everything over.
But luckily, it went well, and the front half was looking pretty good:
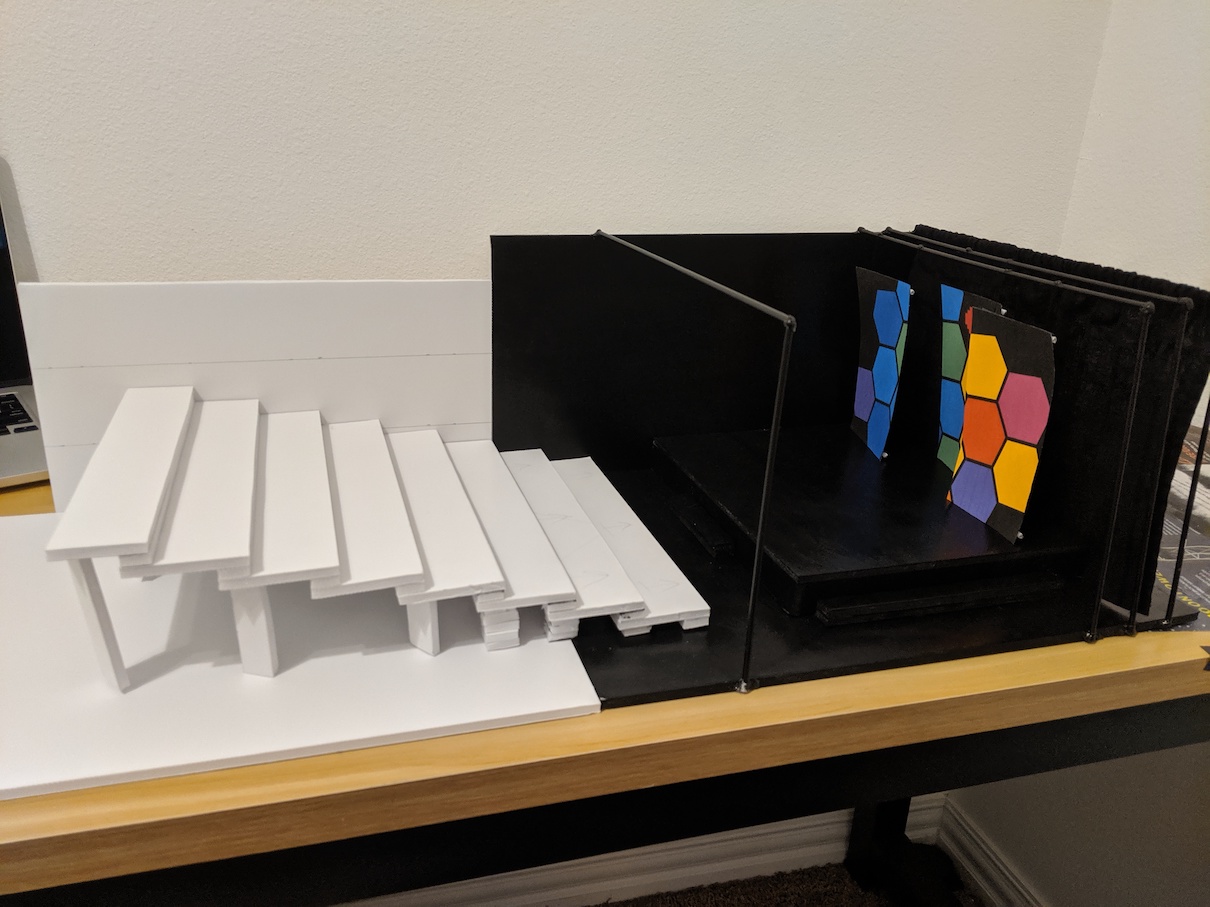
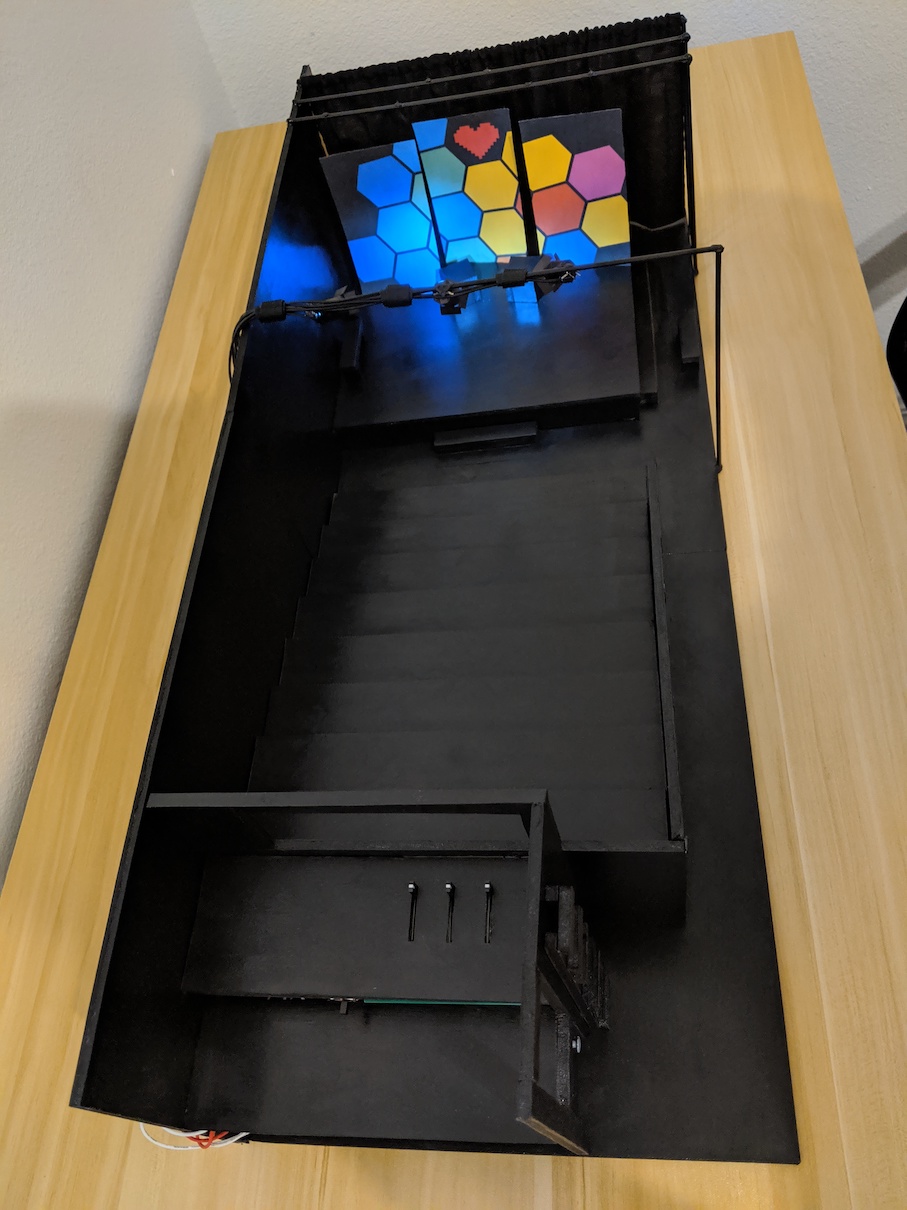
Next, it was time to start on the back half, which included the seating area. This was a LOT of measuring, cutting, and gluing:
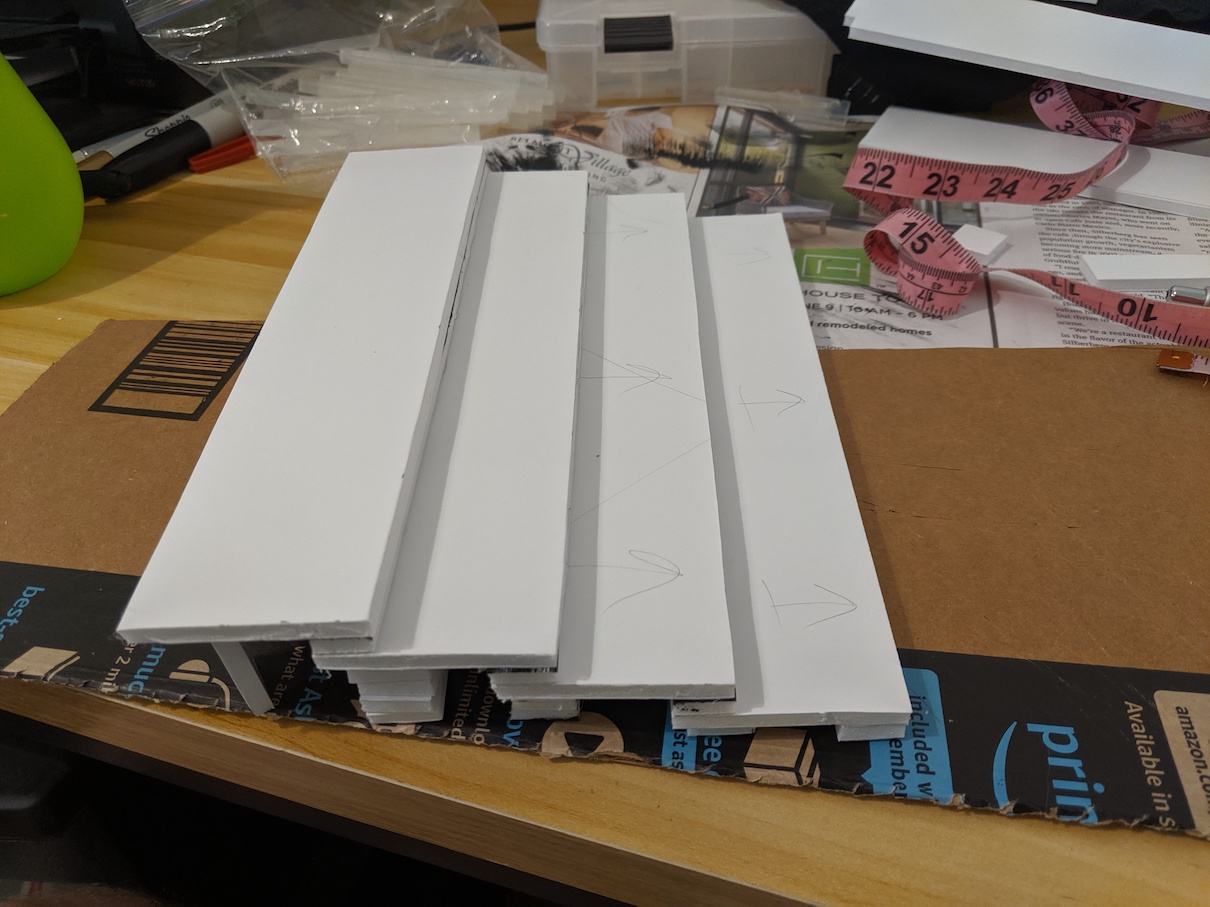
As you can see, I only use the fanciest of materials, including a frustratingly bendy and elastic measuring tape, and a cardboard box scrap cutting board.
Finally, all 8 levels completed:
At this point I realized I was going to need to be able to power this thing portably. Luckily, I already had a 9V battery connector, and found out I can use that to power the Arduino!
Perfect.
After a lot more painting, I did the dangerous work of gluing the back half floor and wall to the front half, and then gluing the stadium seating in place. Here you can also see the walls surrounding the seating area:
Painted and glued:
Woo!
I wanted to add some more detail in places, so one thing I did was simulate the wooden beams that run along the outside of the seating area wall. I added some thin strips of cardstock printer paper, glued them in place (using a very fancy glue stick), then cut them to size and painted them.
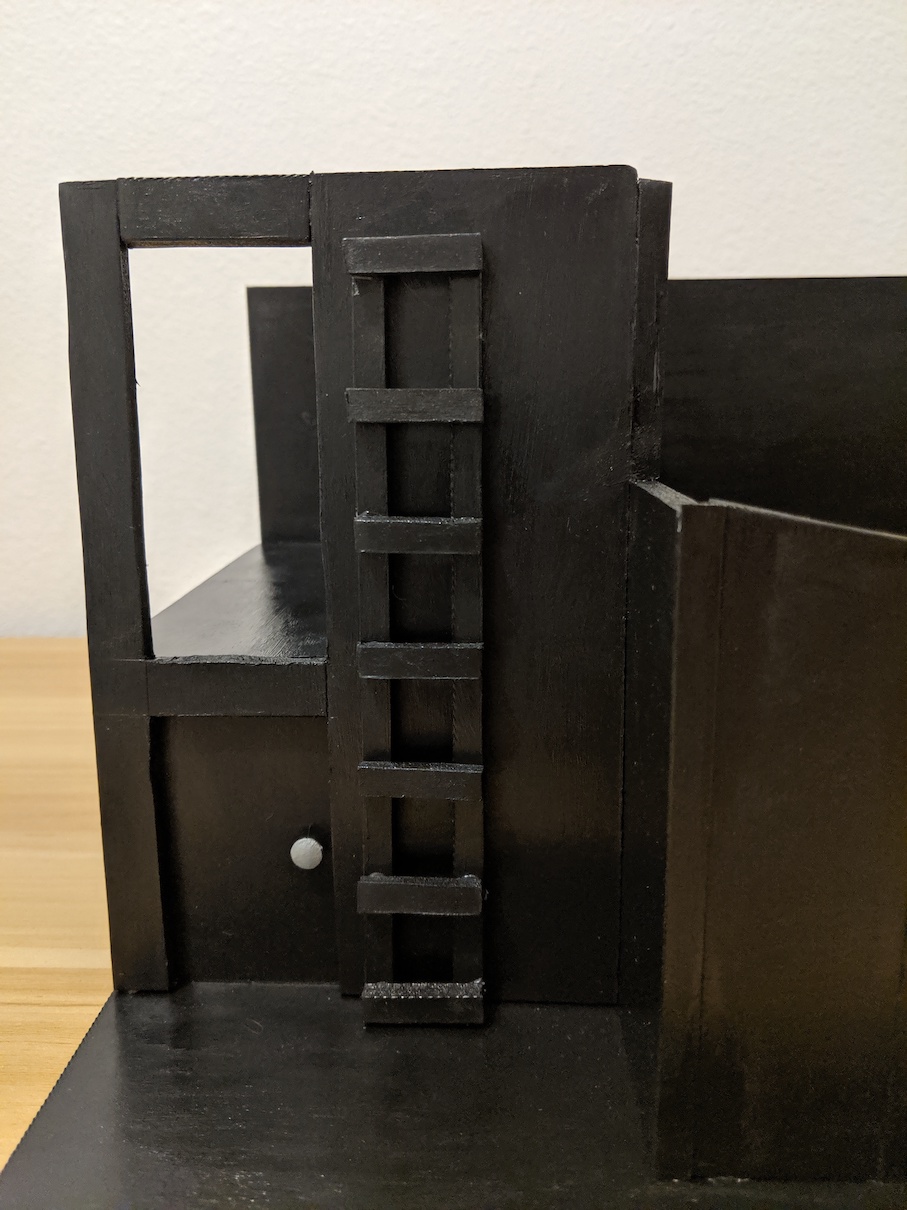
Jump forward a fair bit in time, and here is the tech booth, with ladder (it was a pain to cut piece this small...) and little mini-door on the bottom:
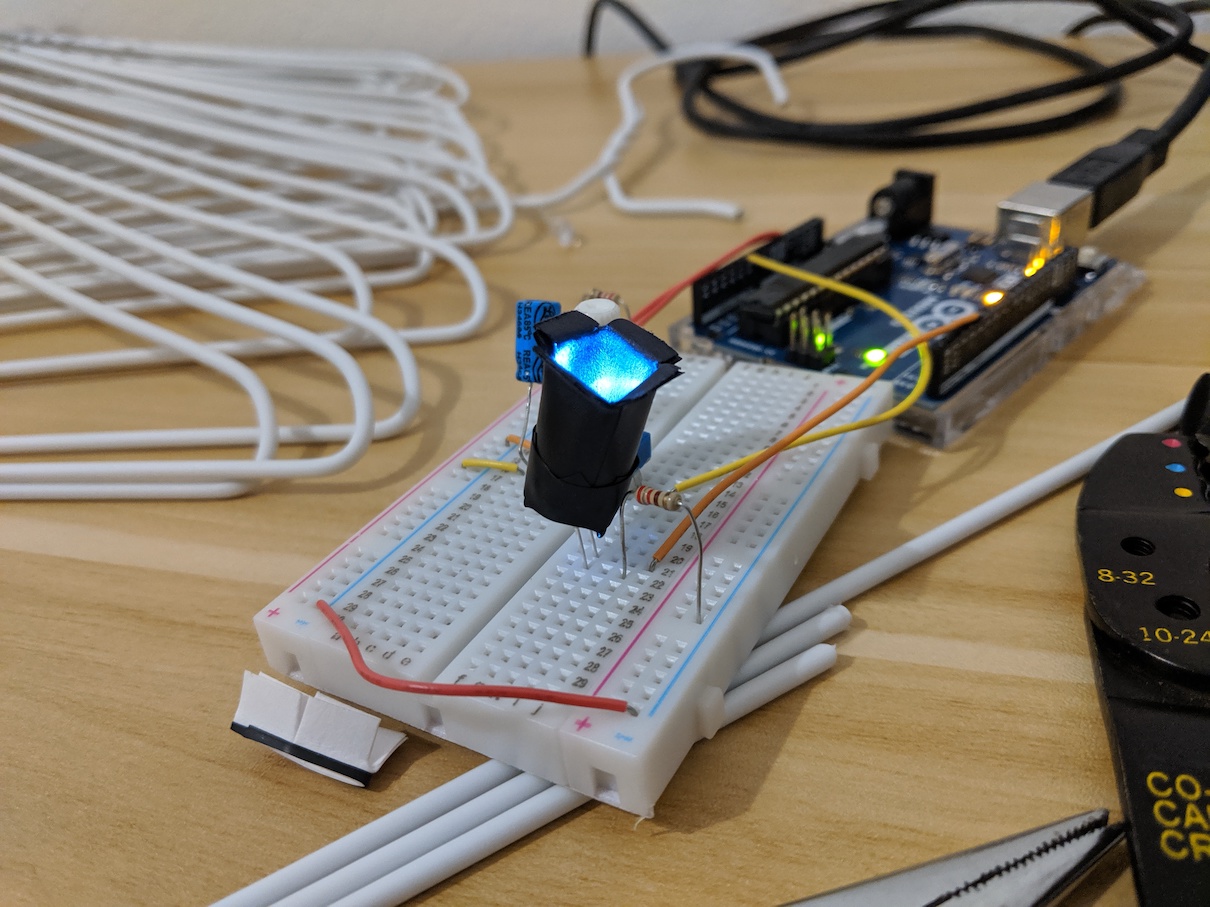
I really wanted this project to have some cool little authentic details, so I ordered some tiny slide potentiometers to control the lights:
They didn't come with any documentation, so I had to figure out how to wire them myself, but luckily I was able to get them to work!
At this point it was time to start putting the stage lights in place, but I wasn't happy with how the ones I had looked. So I found a more precise, better-looking way of making them, and I really like how they turned out:
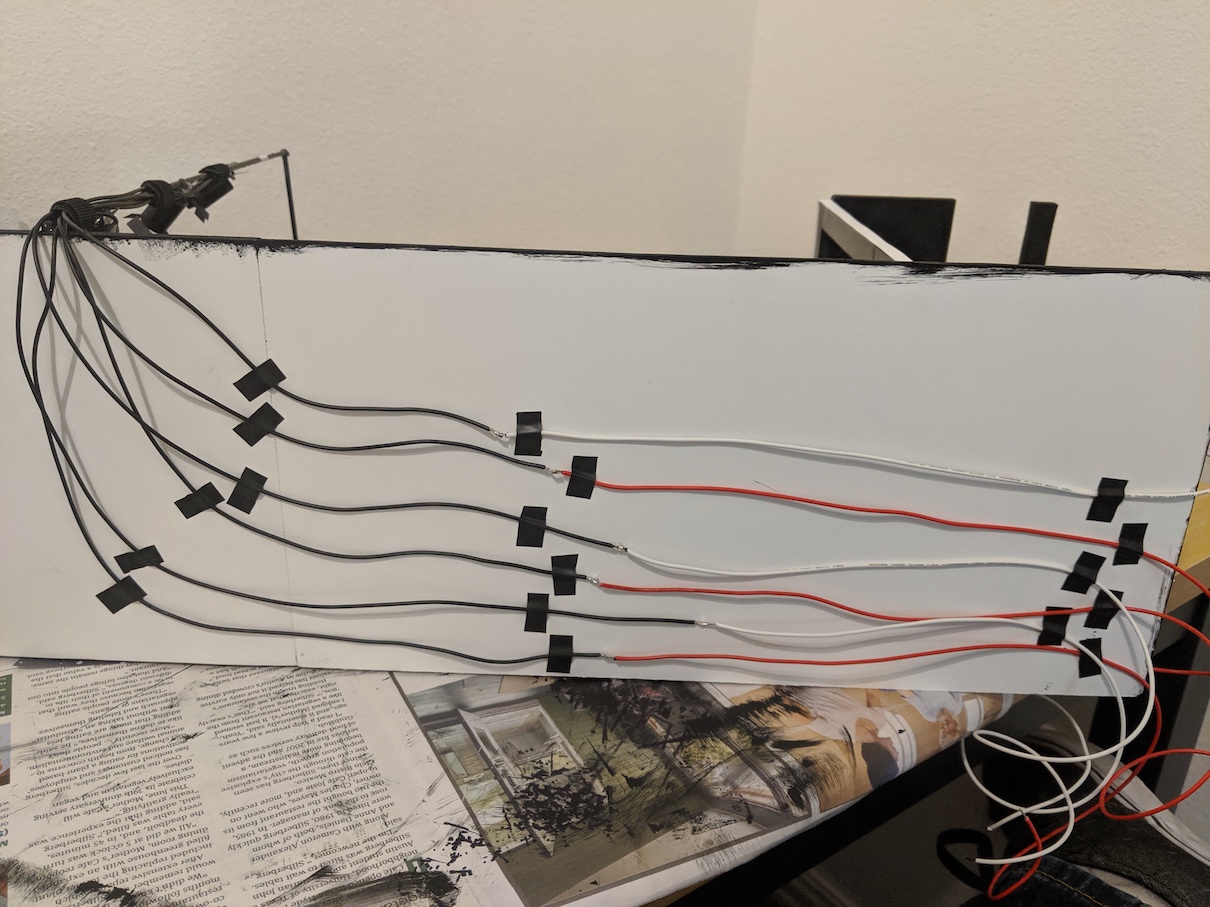
And here they are wired and hot glued to the hanger:
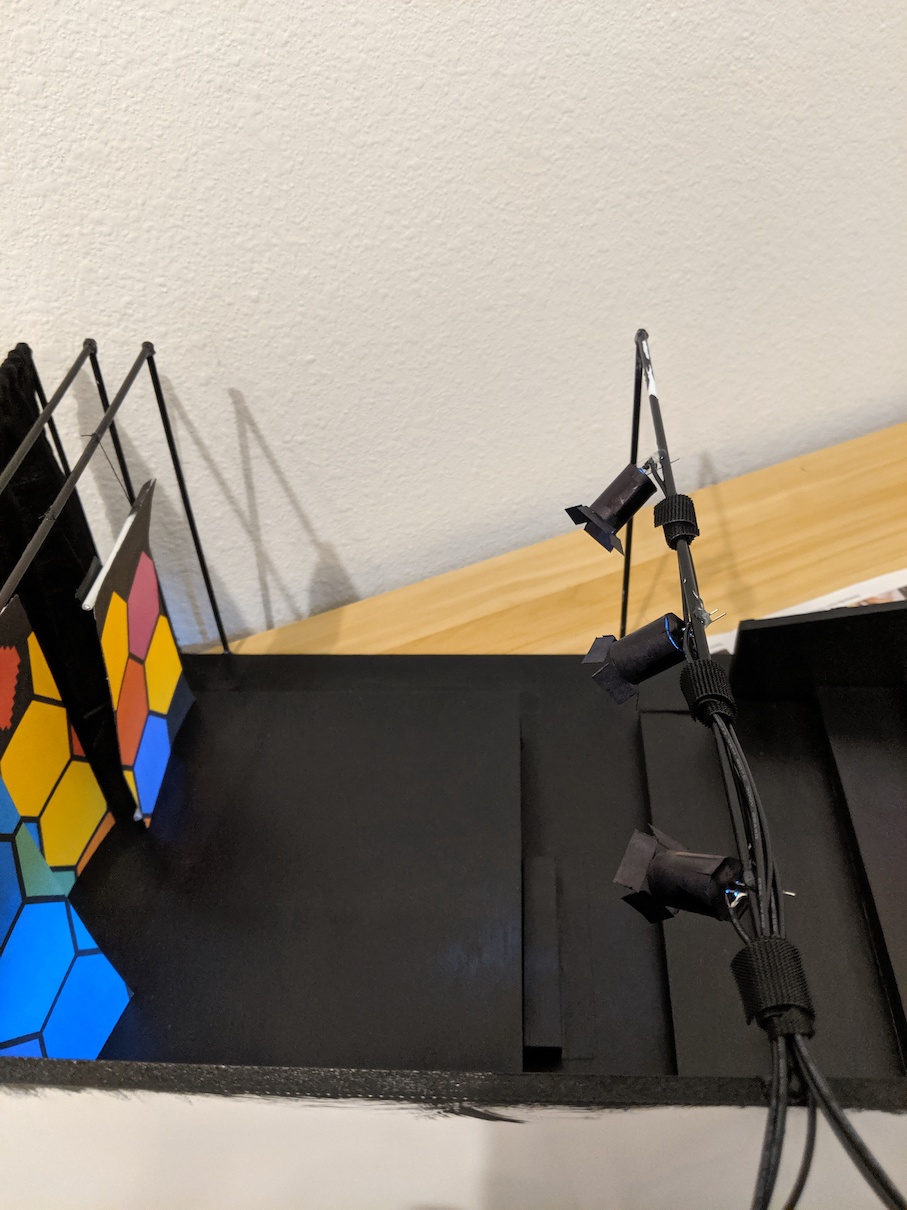
The wires are managed by some pieces of velcro wire organizers I cut to be smaller.
Now that they're in place, let's make sure these suckers still work!
Worked like a charm. (Phew...) I used all black wire for this portion so they would blend in and not be an eyesore.
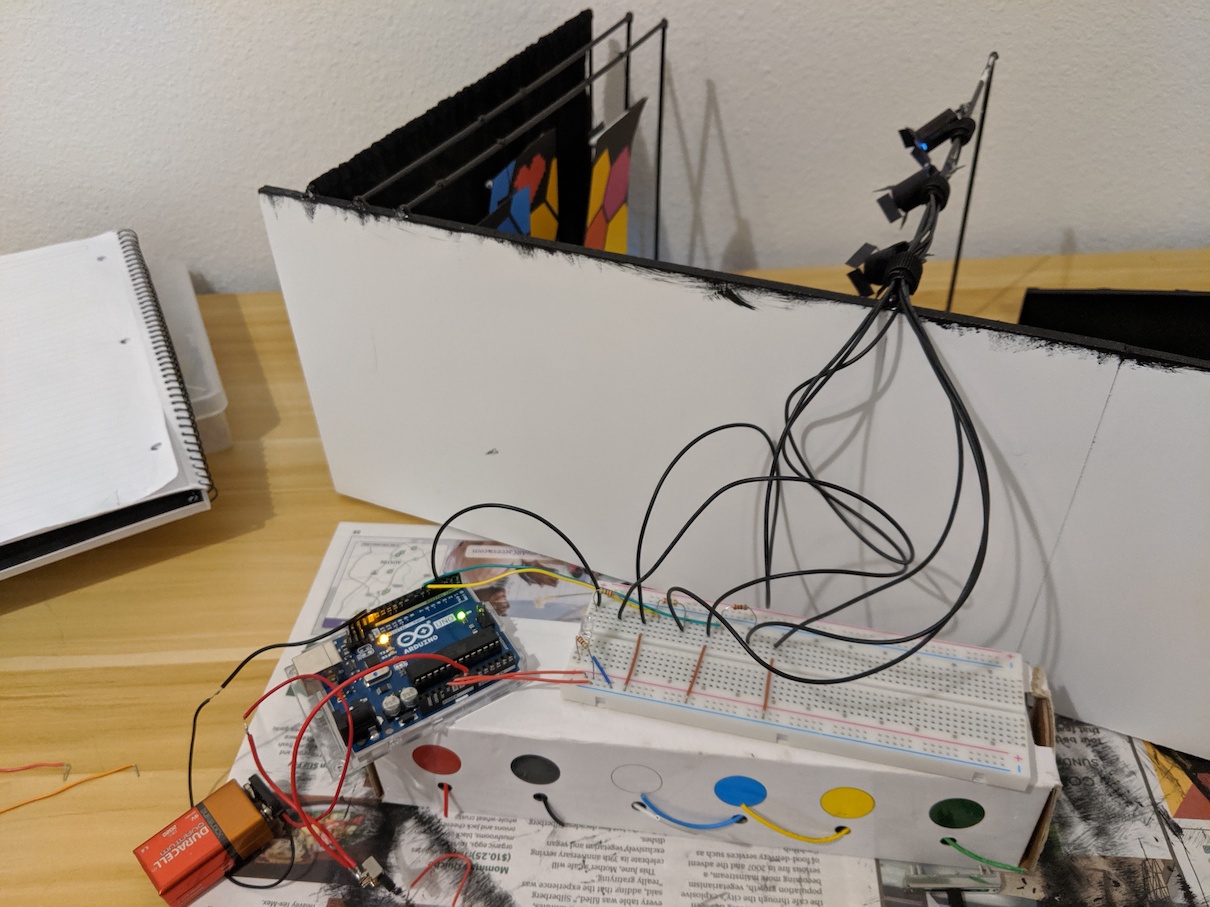
Time to really start wiring things up:
Electrical tape was not good for this job. I had to switch most of it over to Scotch tape as it just kept coming loose.
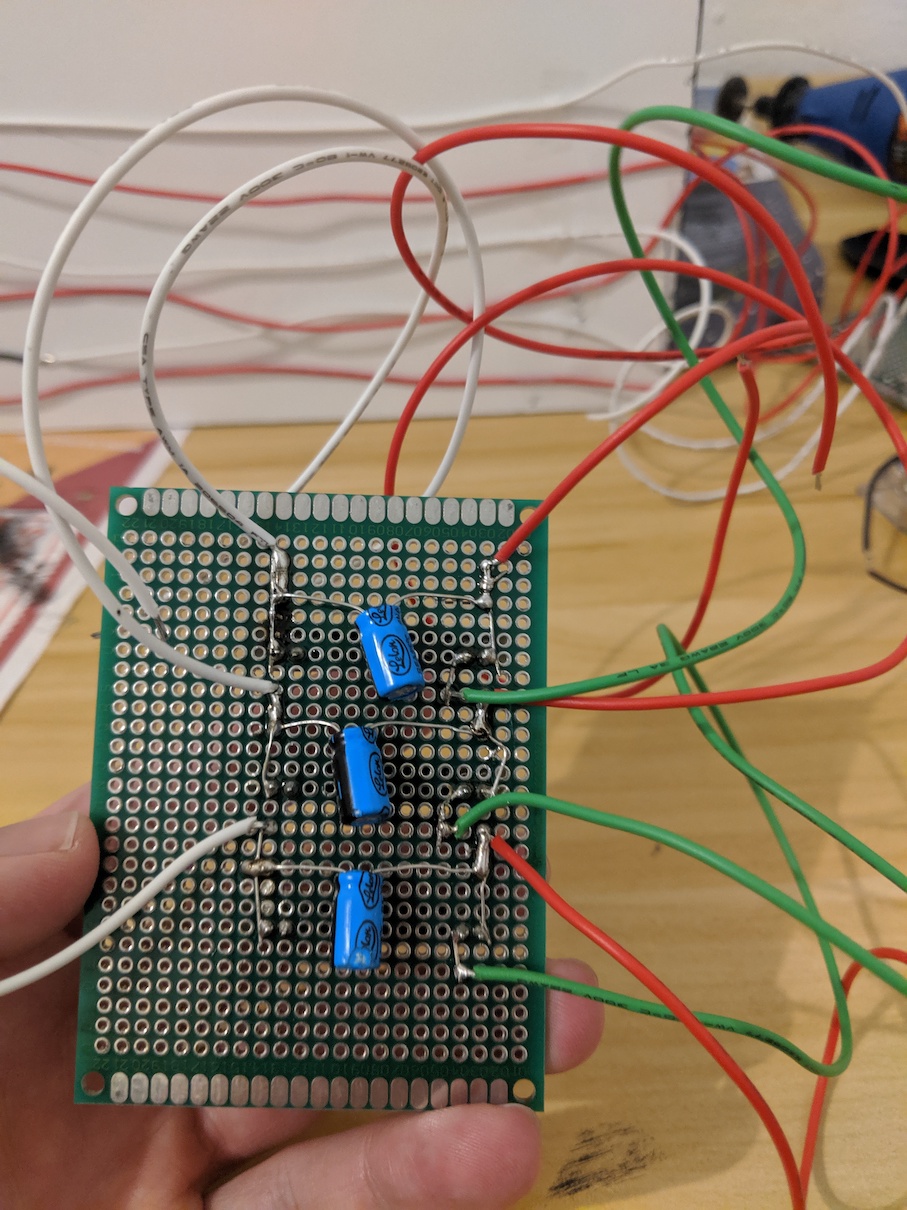
Then I started the difficult work of soldering things to a circuit board, and adding a power switch:
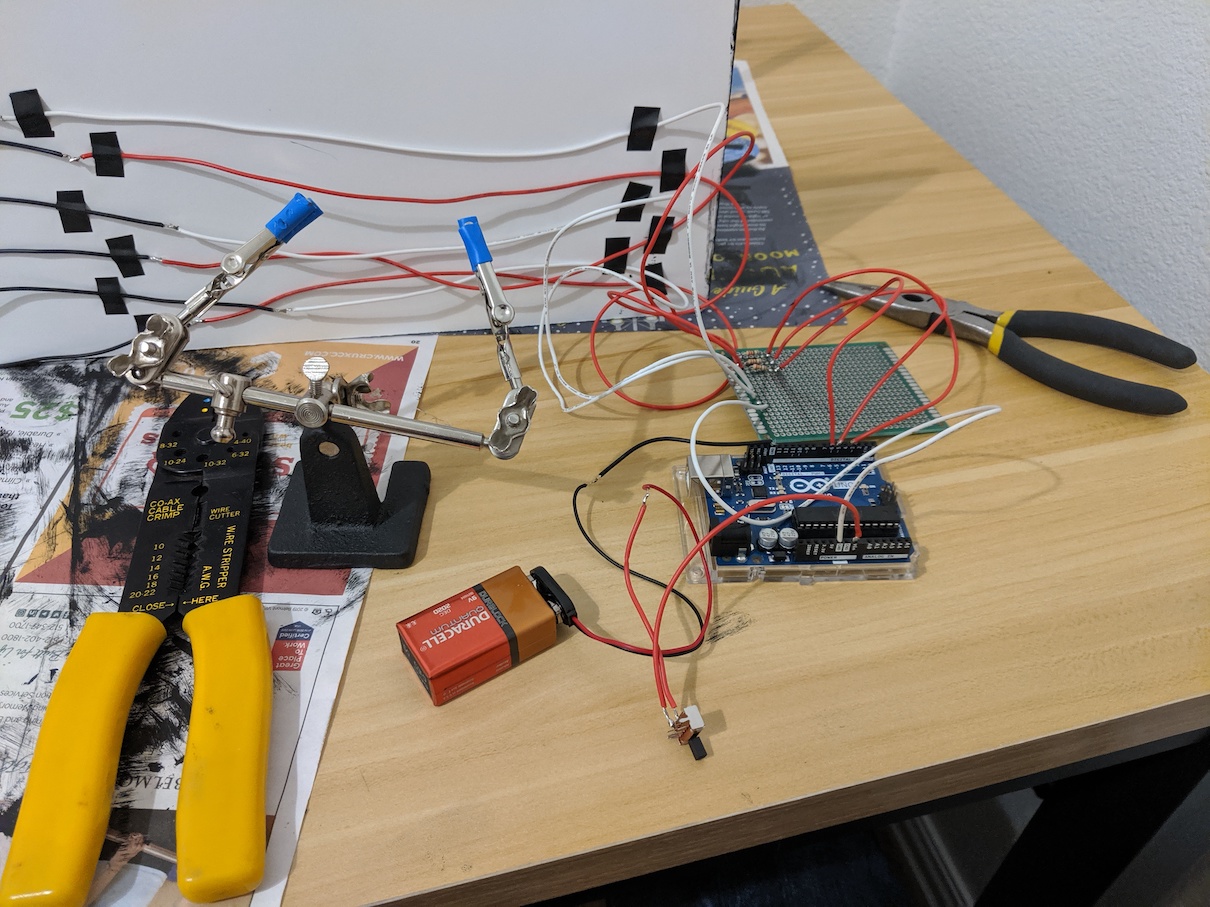
Any soldering experts, I warn you, the next few images may disturb you.
Here are the slide potentiometers in place:
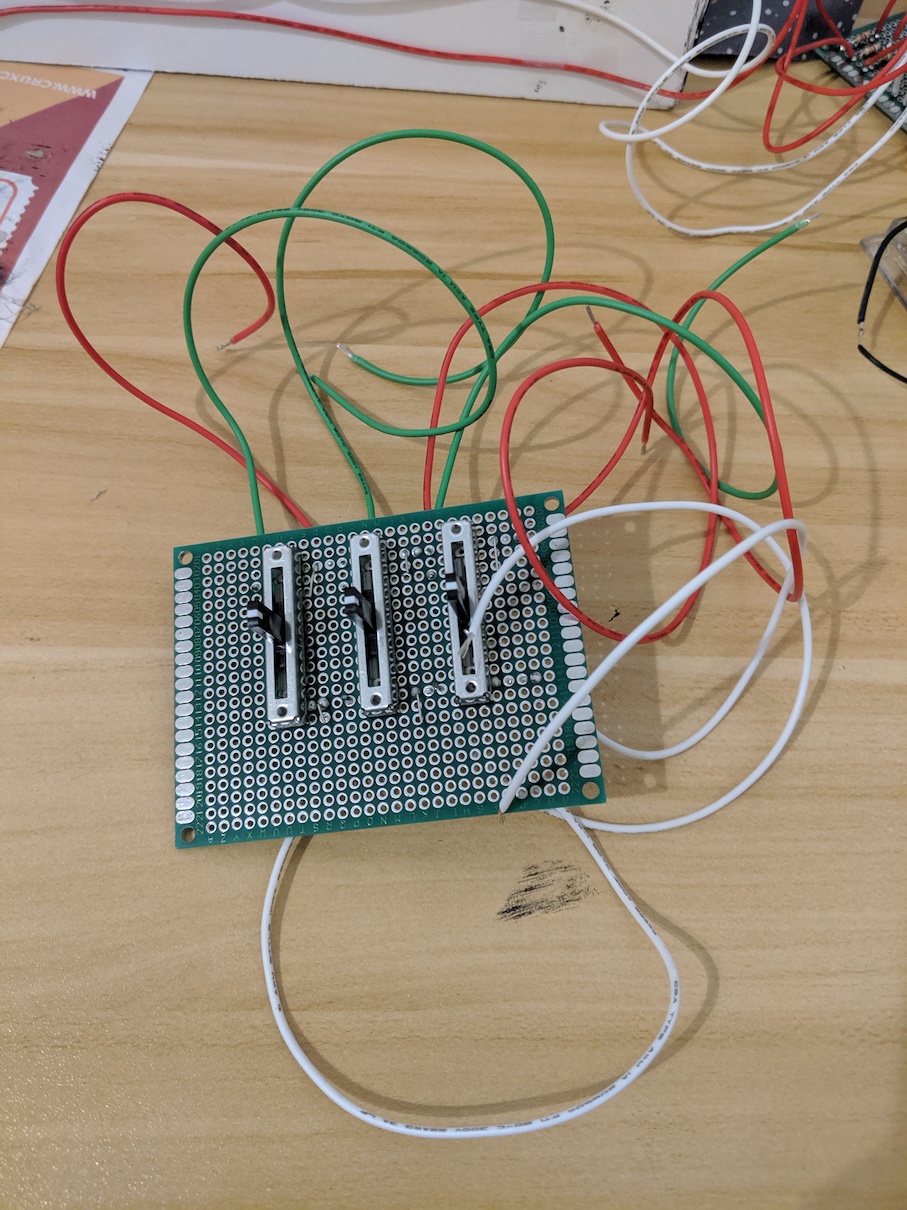
And the back side:
Here's a simple circuit diagram showing how the slide potentiometers are hooked up:
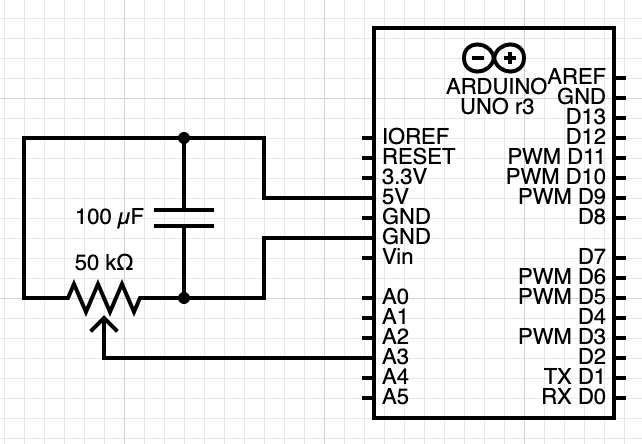
I had to write a bit of code to translate the input values from the potentiometers into brightness values to send to the LEDs. I put the code on github: https://github.com/brad811/Hideout-Arduino/blob/master/hideout.ino
I added a little doorknob to the mini-door below the tech booth:
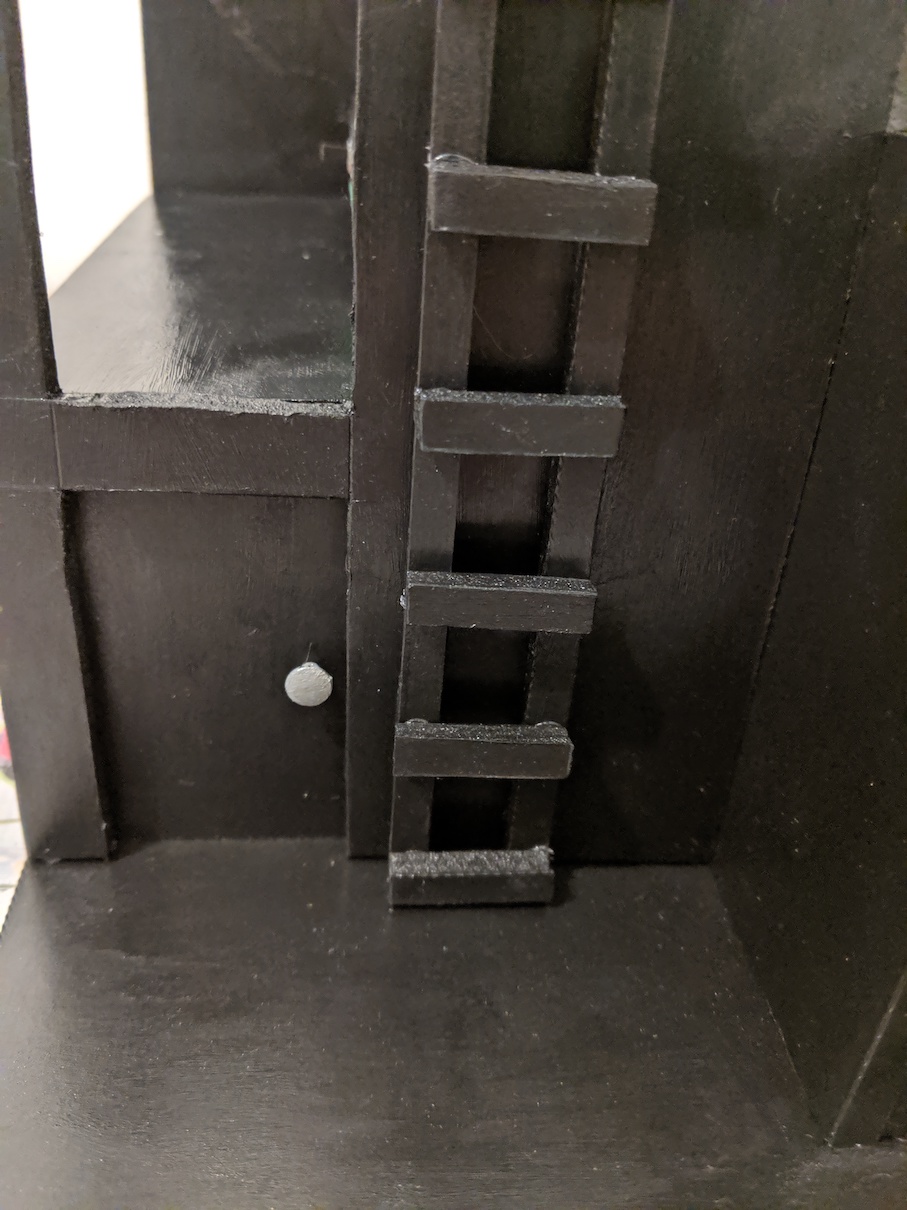
I cut the back half off a push pin using a wire cutter. I didn't have any silver paint, but I did have a silver Sharpie. The Sharpie wouldn't stick to the push pin, so I mixed a little black and white paint and painted it gray, then was able to Sharpie over that. You can also see the tech booth floor in place.
Here is everything shoved into place below the tech booth:
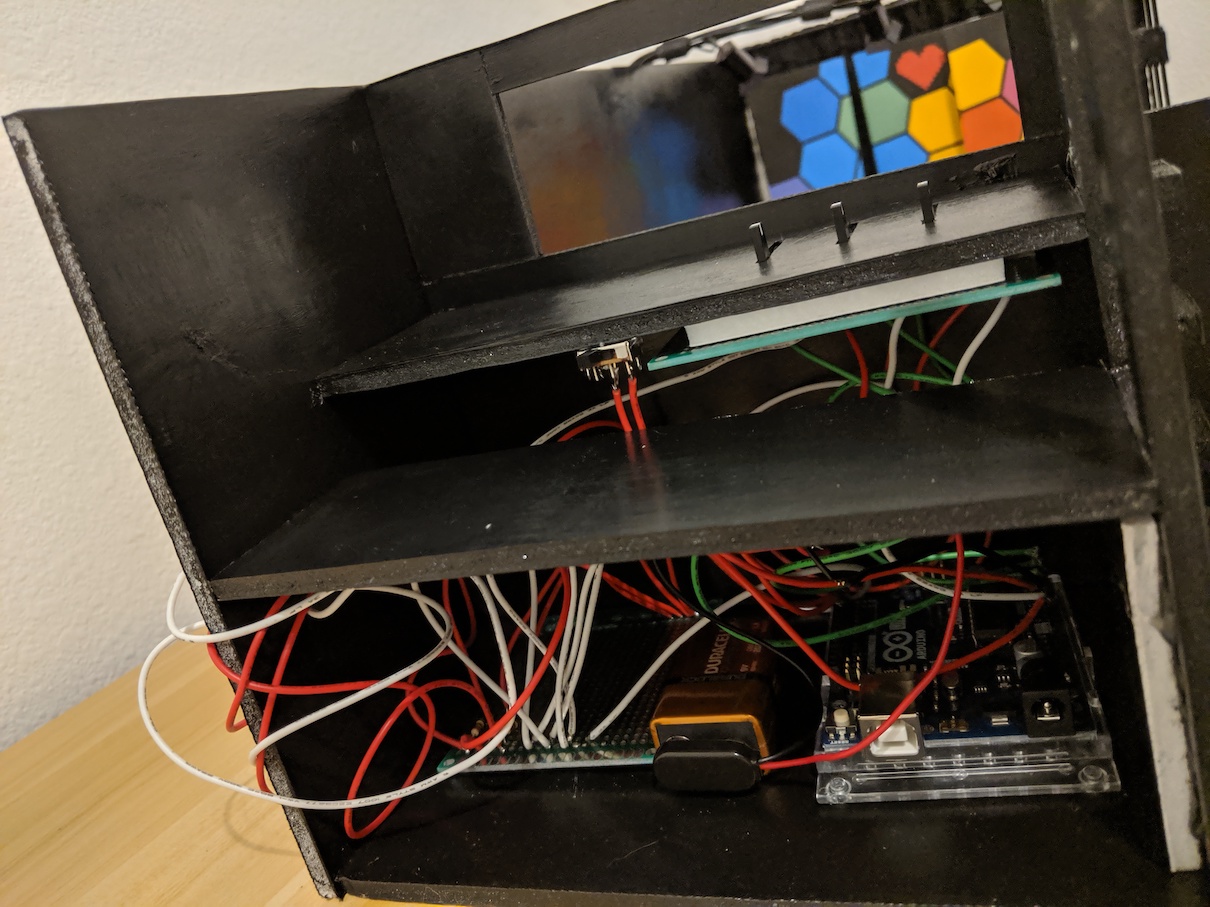
And everything actually works!
Mounting the slide potentiometers was actually a bit of a pain. It was near impossible to cut neat slots in the foamcore that tiny. The solution I landed on was to cut big messy holes in the foamcore, then use Google Drawings to precisely map out the slots, print it out, and cut the slots out very carefully with an X-Acto knife, glue it on top of the foamcore, and paint it black.
The three potentiometers control lighting stage left, middle, and right. I made sure the light on the right points across to light stage left for authenticity. The sliders are not reversed, as that would be terrible and confusing.
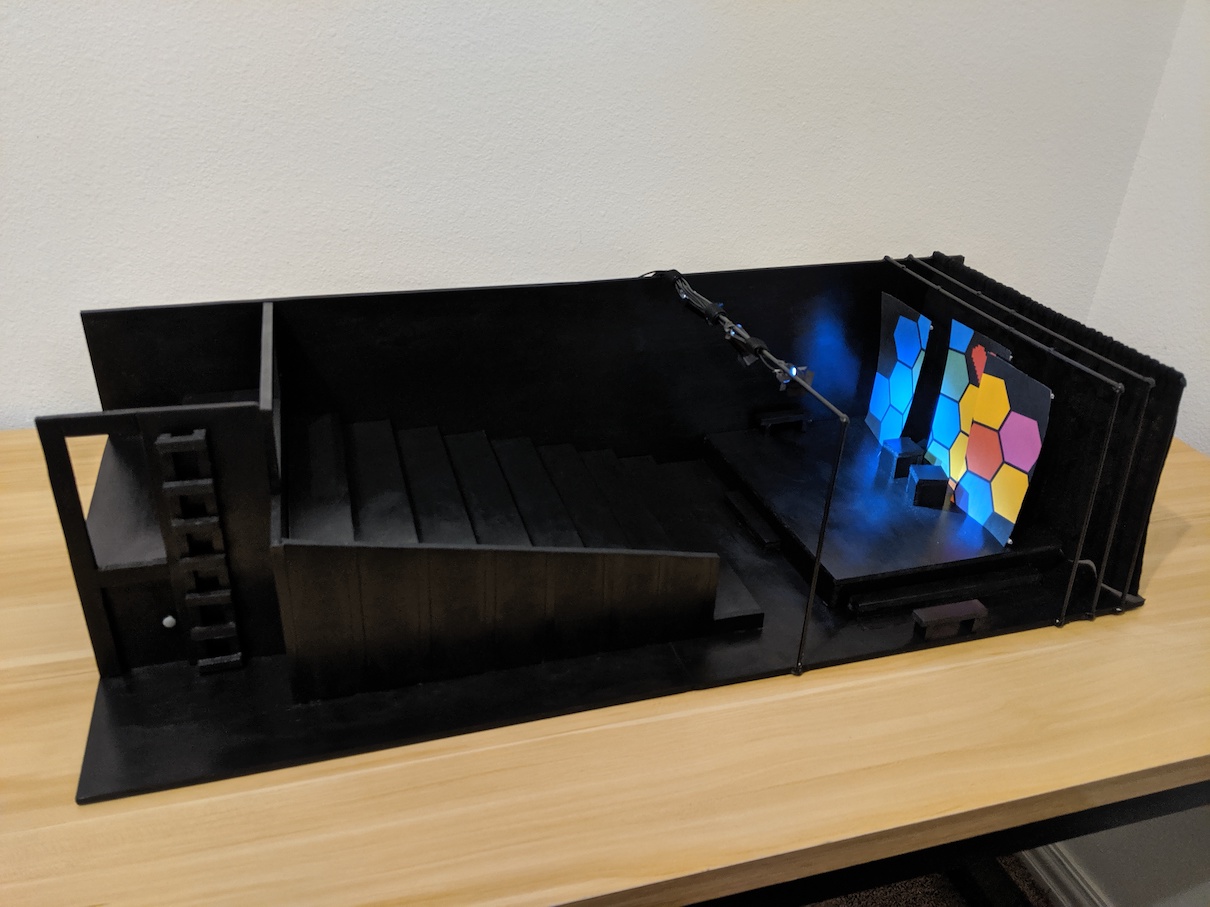
Left side lit:
Middle:
Right:
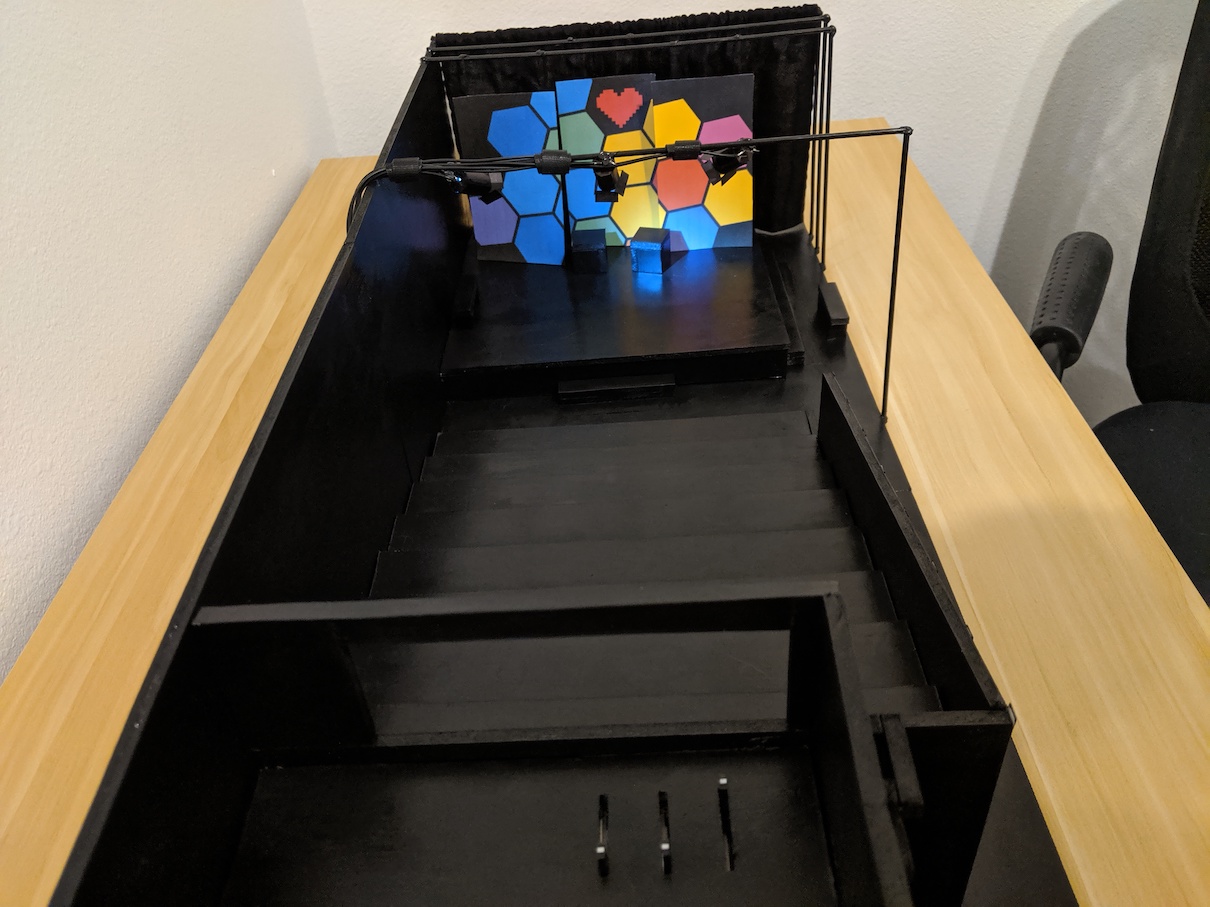
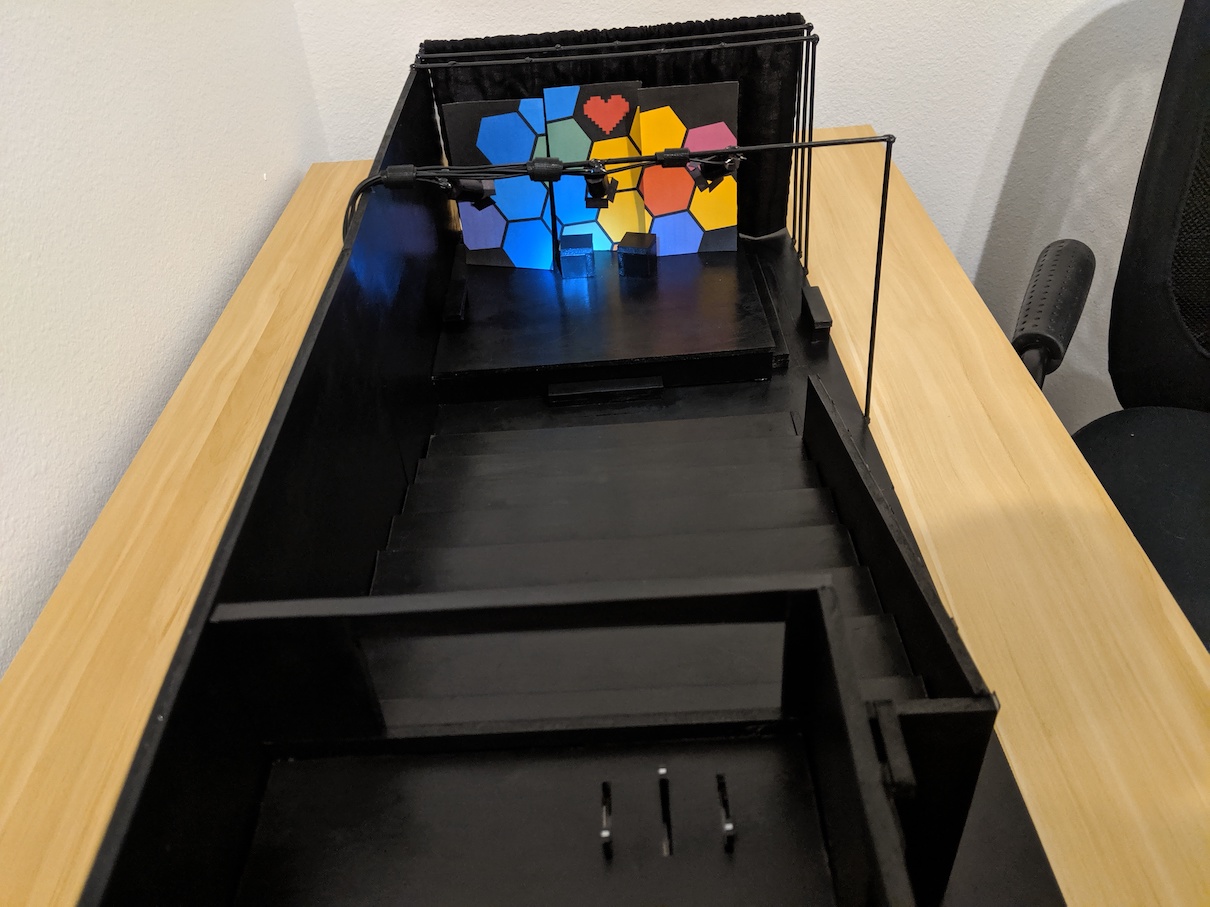
Finally I created the boxes and benches that go on the stage.
At this point, everything was pretty much done! The whole things took about a month and a half.
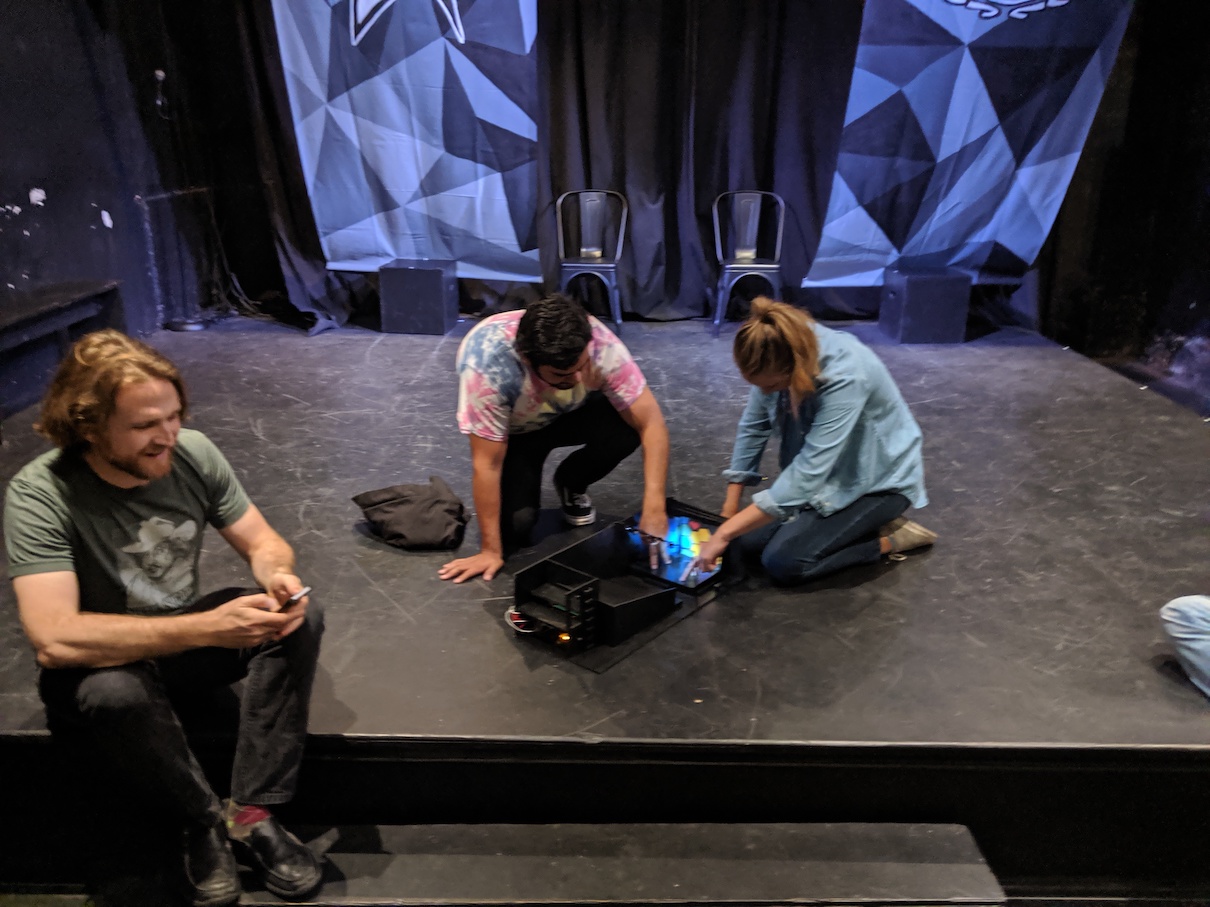
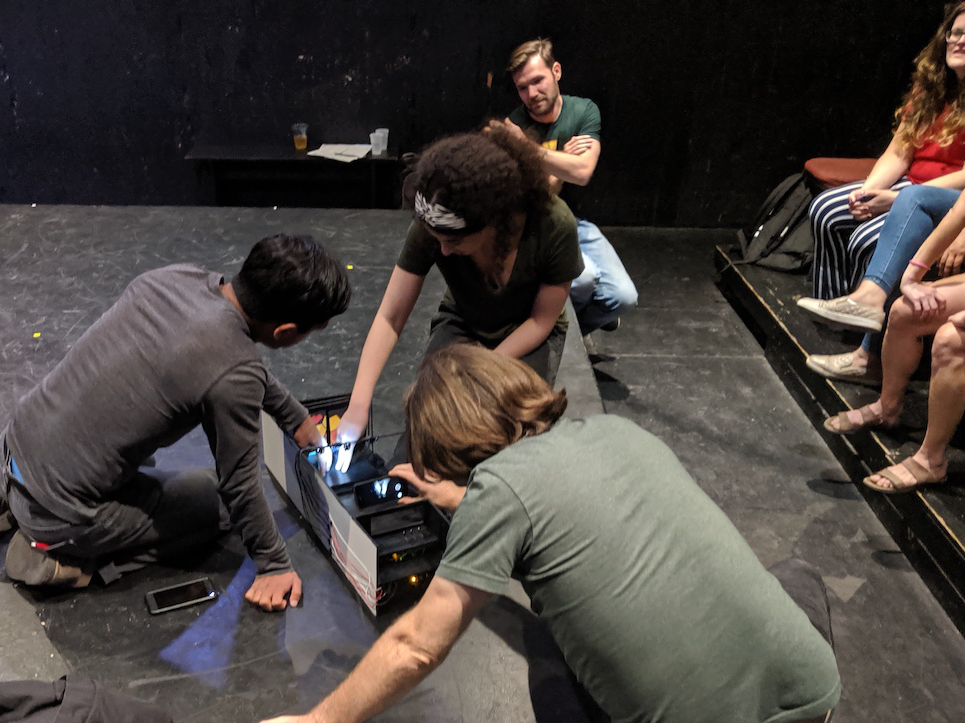
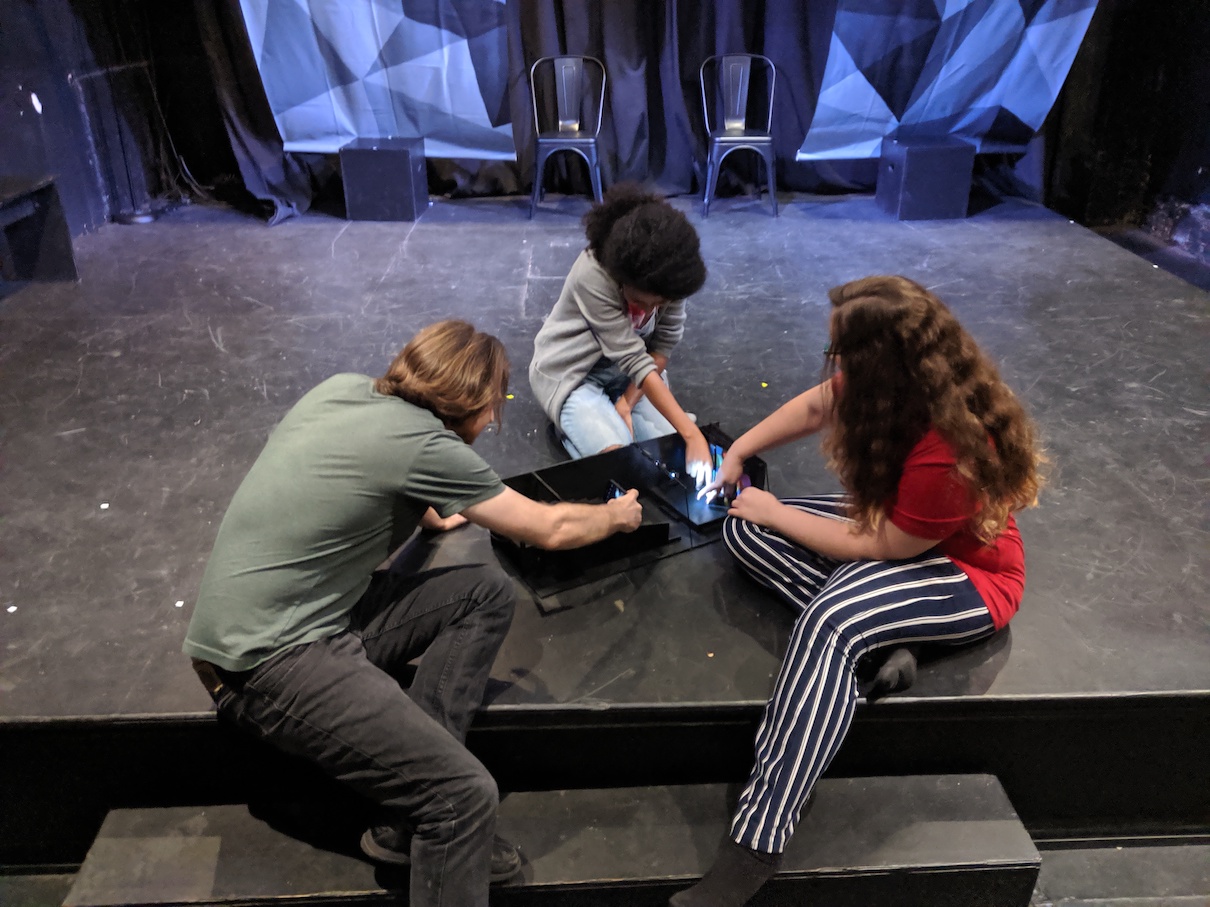
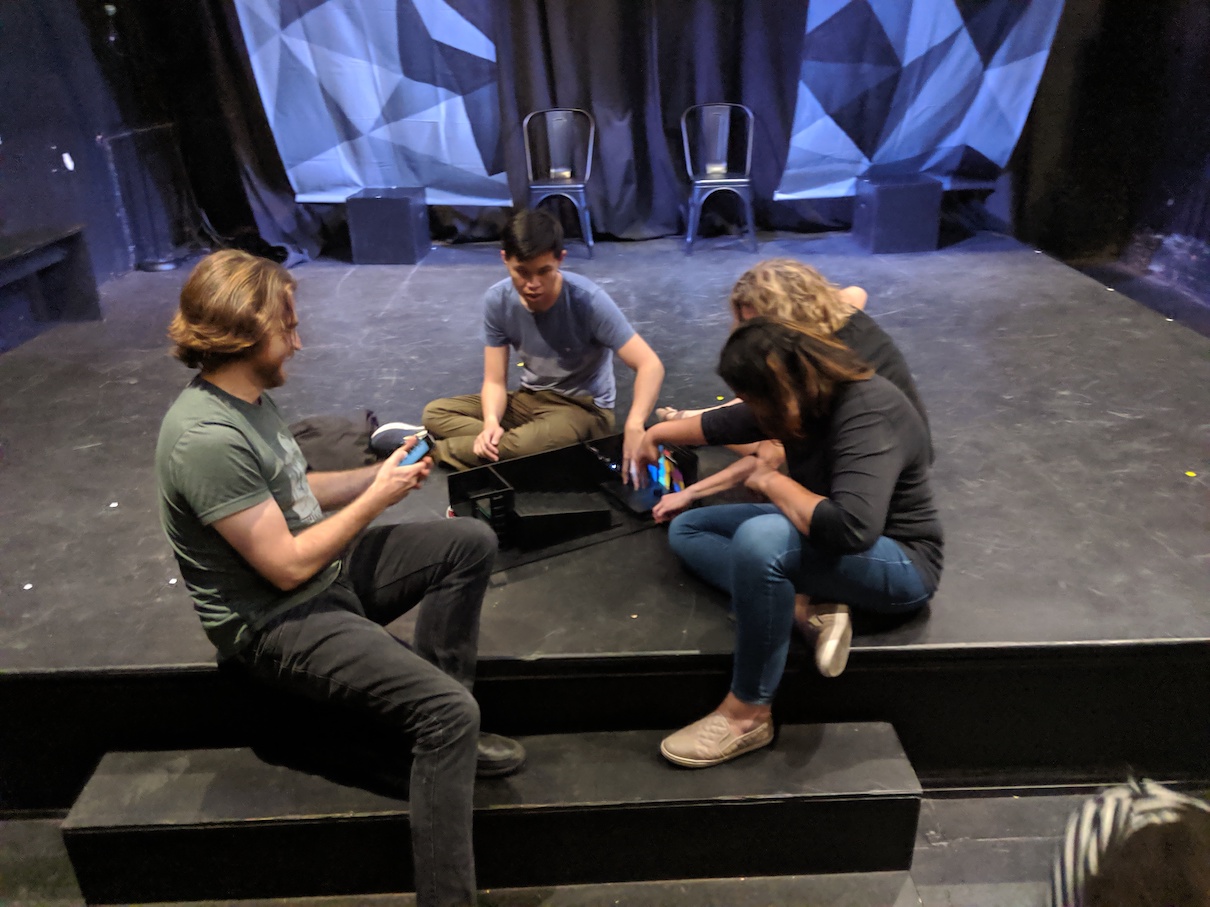
I think my improv classmates and teacher had fun playing with it!
So there it is.
I hope this was interesting! Feel free to contact me with any questions or comments at brad811@gmail.com. Thanks for reading!